Quest Merchant App
A step-by-step guide for issuing and redeeming points using our quest merchant app
In-App Browser is not supported
This guide is for merchant/staff organizing an interactive quest in their event
Logging into the dashboard
Access your quest page on the portal
Log in to the moongate merchant portal (https://portal.moongate.id)
Navigate to quests from the sidebar
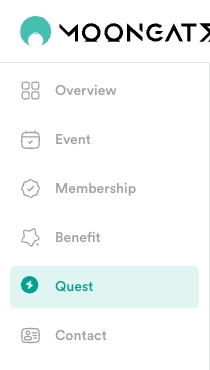
Click on your quest from the quest list
Get the access code and redirect to quest app
Copy the Access Code and Click the Verify App button

Log in to the quest dashboard
Paste the access code into the code field and press SIGN IN

Understanding the Dashboard
You should be logged in to access this section
Once you login, you will see the homepage of the quest app. Press the CONTINUE button to jump to the dashboard.
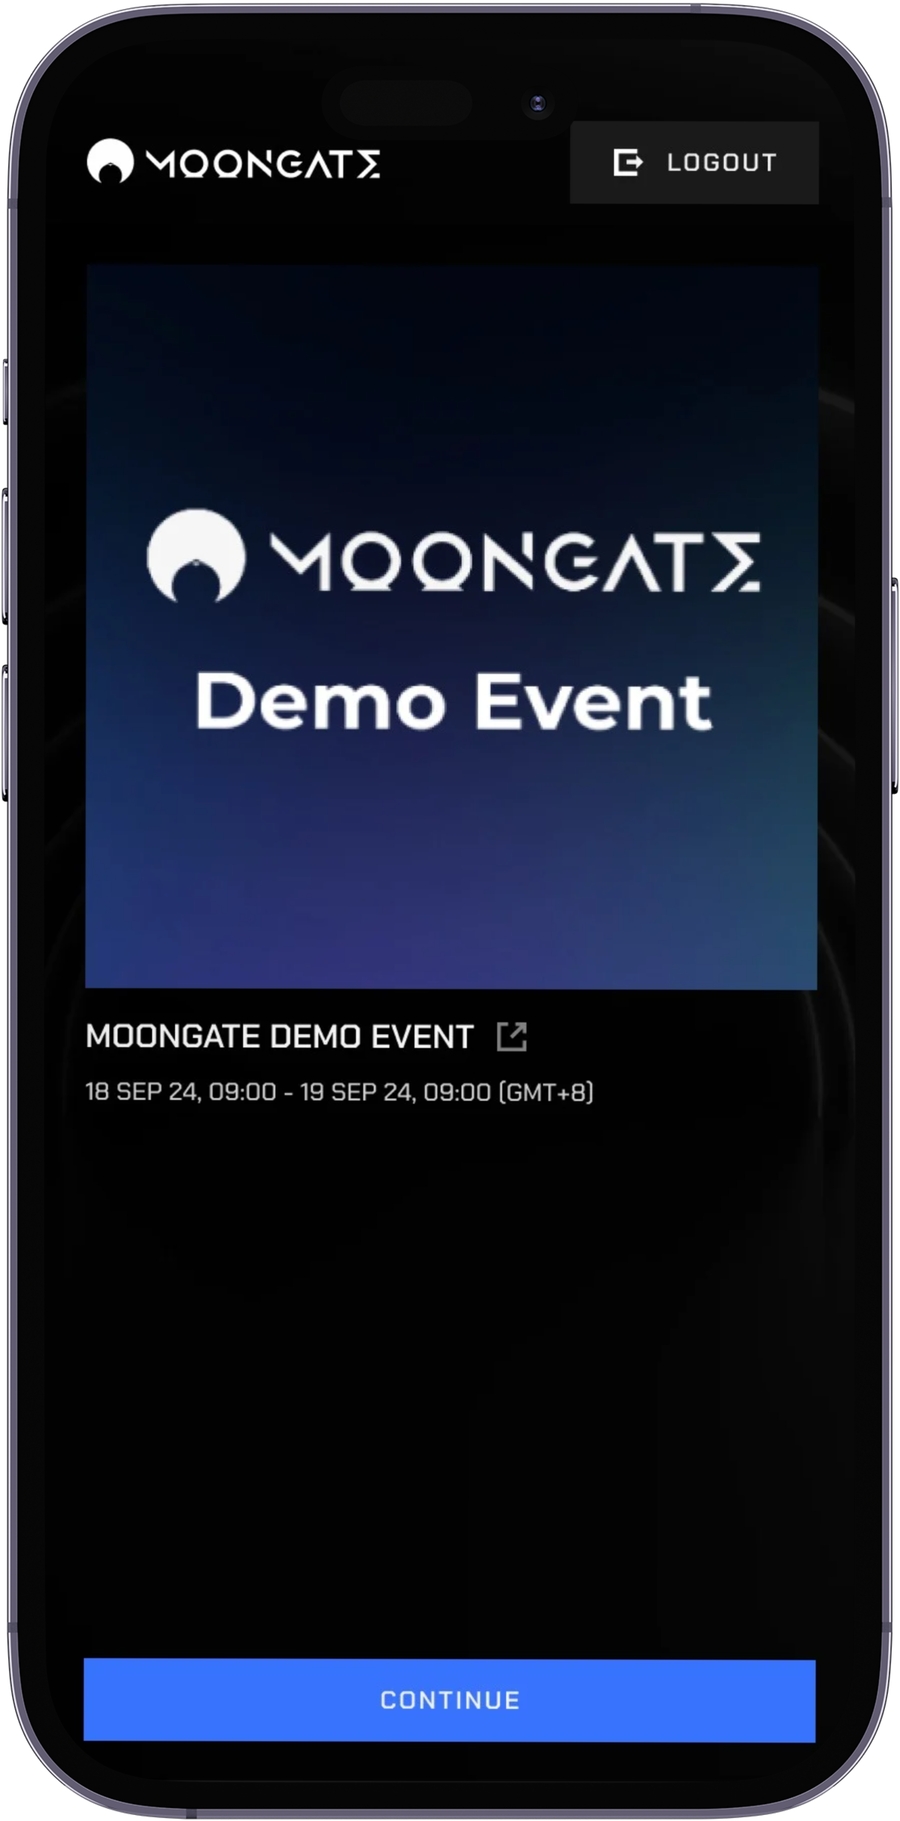
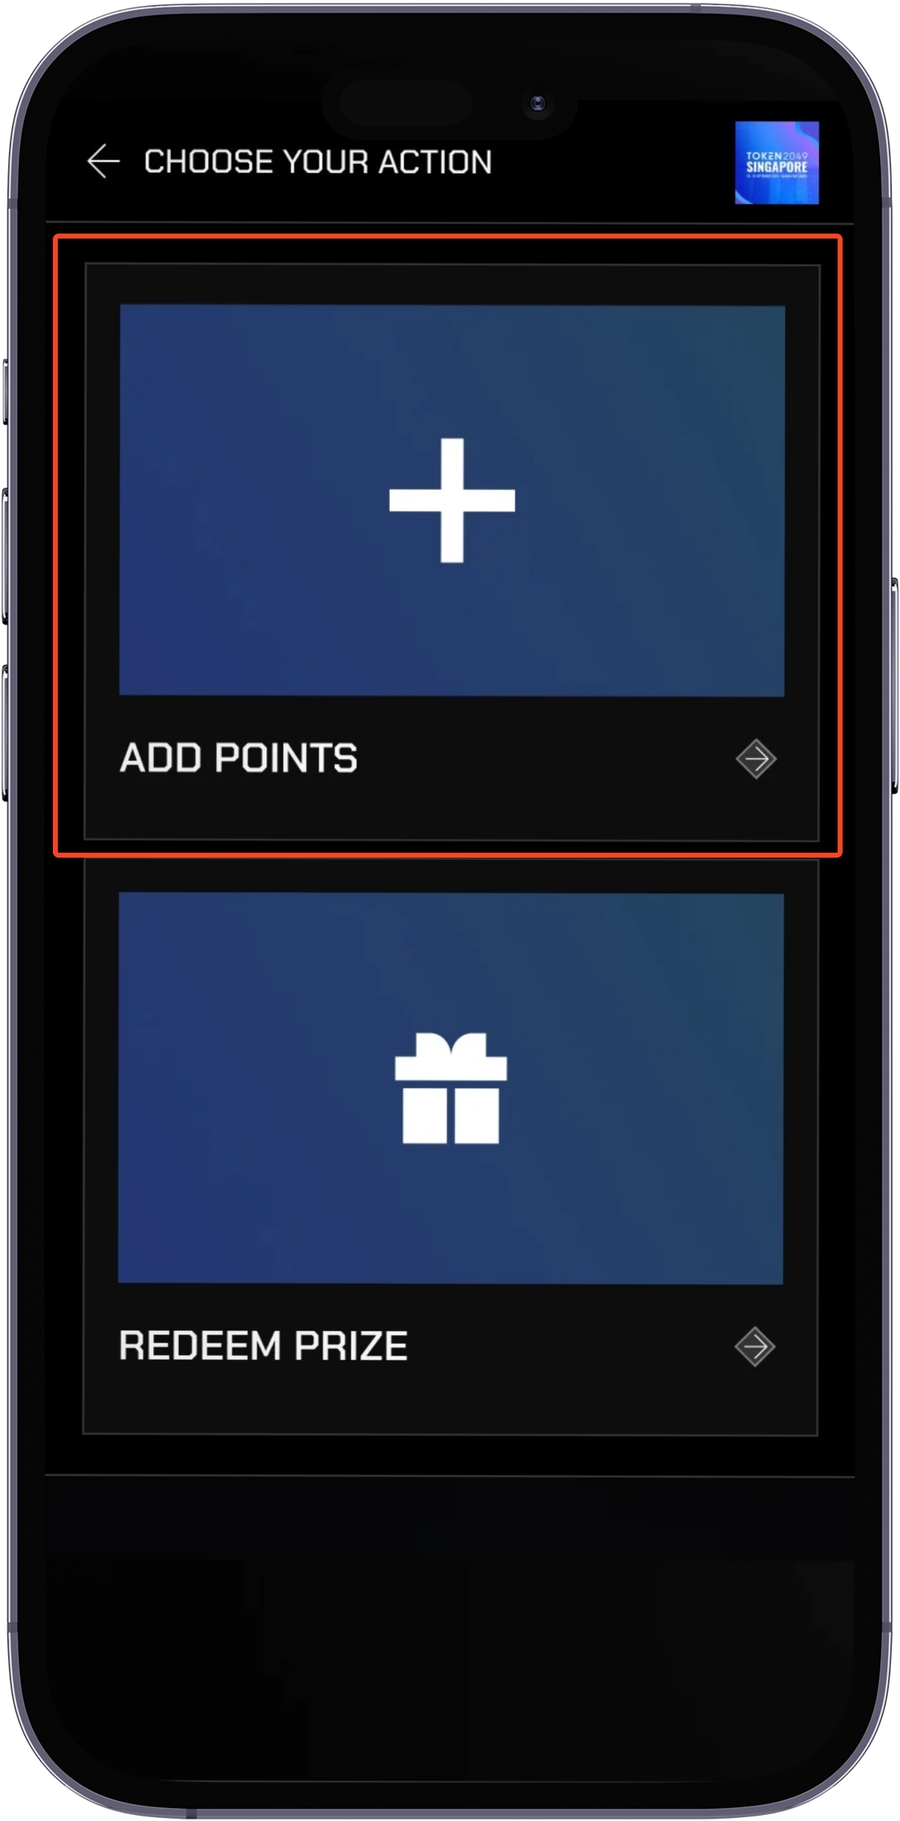
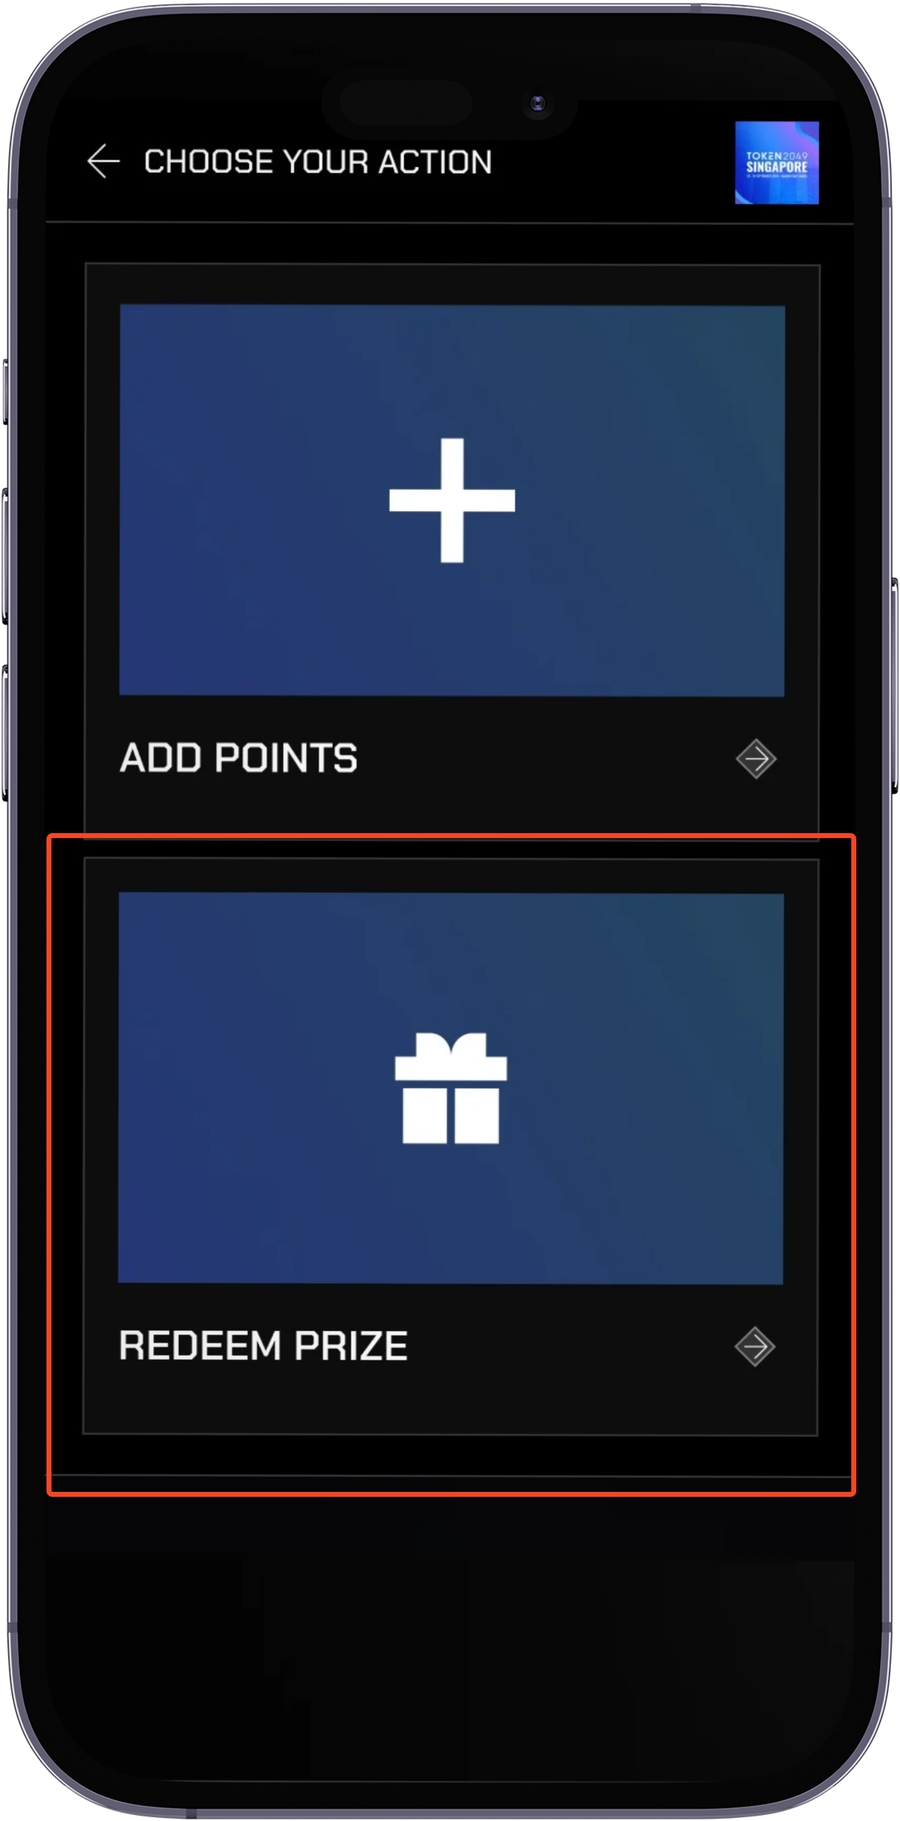
The dashboard contains the two action buttons that let you issue or redeem points:
ADD POINTS
REDEEM PRIZE

Issuing Points
To issue points click the ADD POINTS button on the dashboard
You will see a list of categories and quests that you can award/issue points to user on this page.
Display QR Code Beacon
Select Dynamic QR Code Option
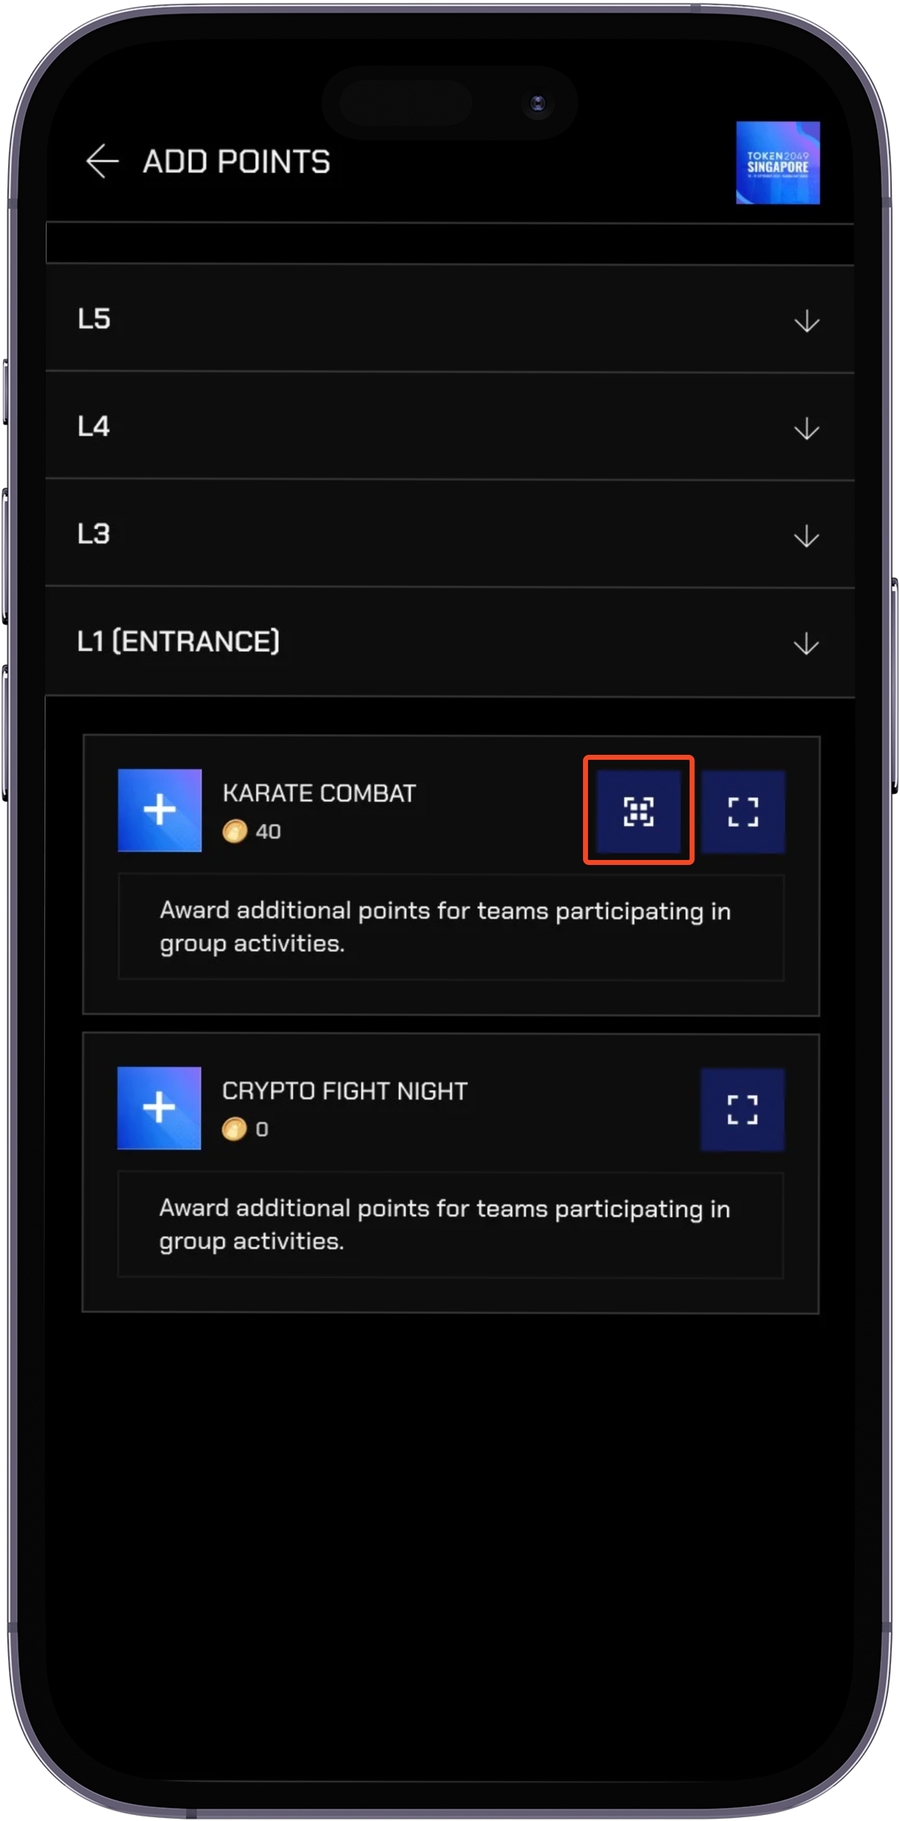
Leave QR Code on display for users to scan
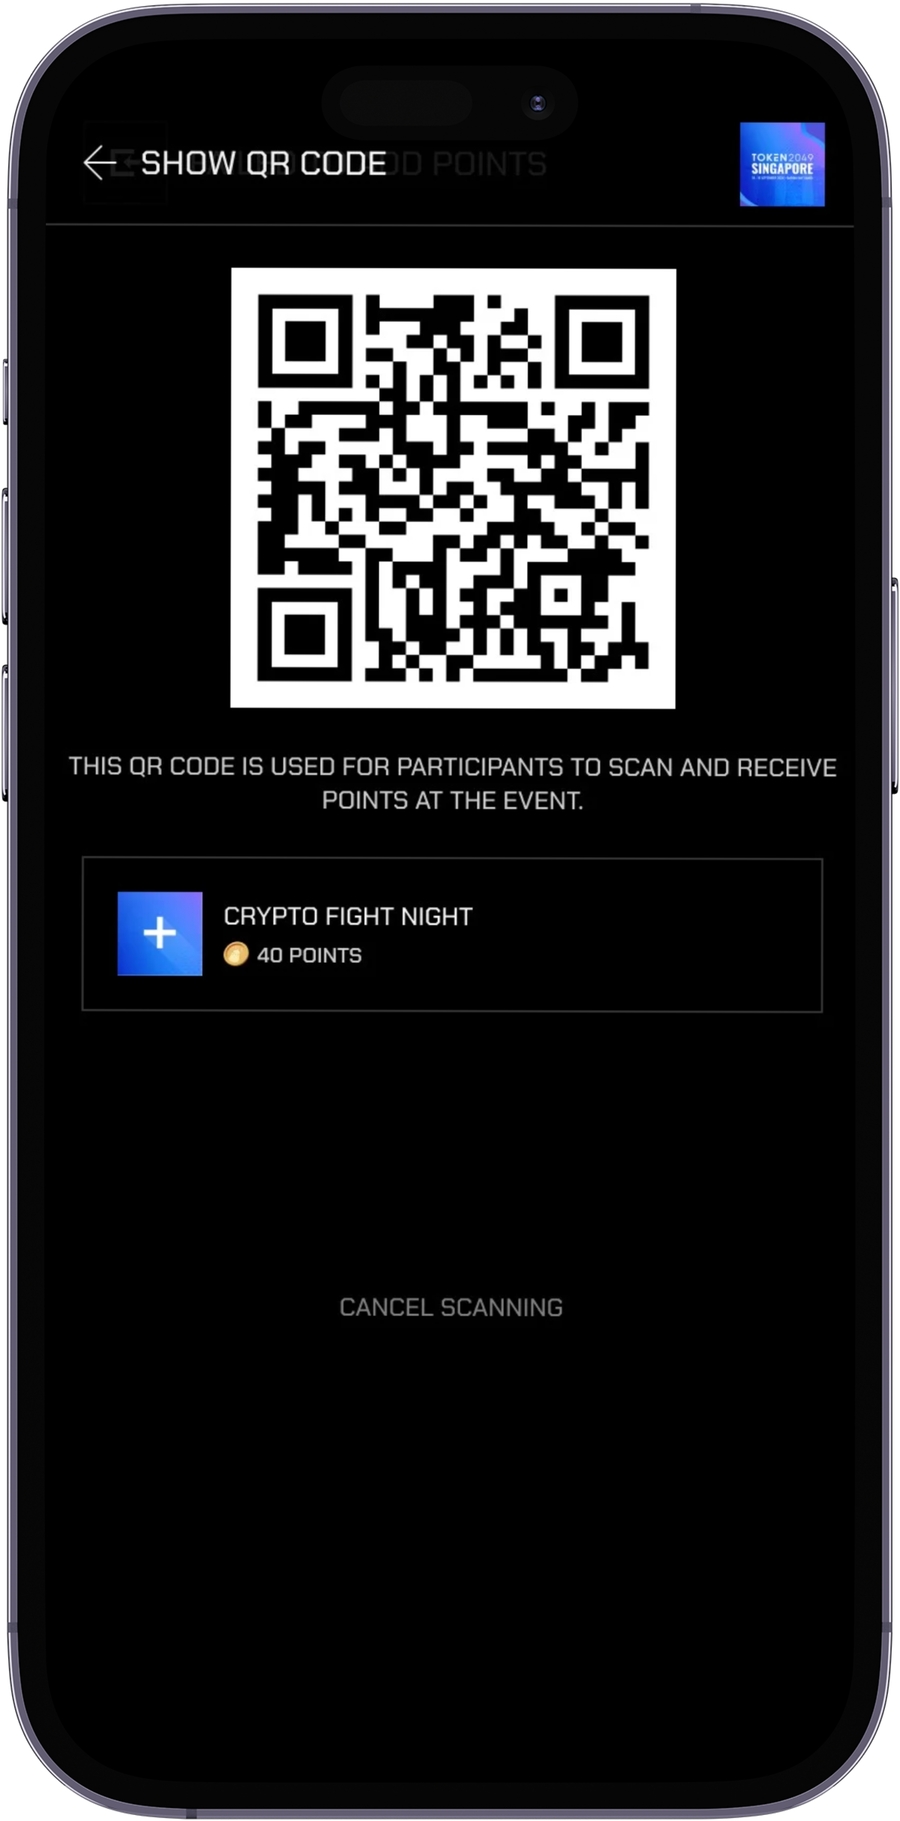
Users can scan the QR Code to claim points
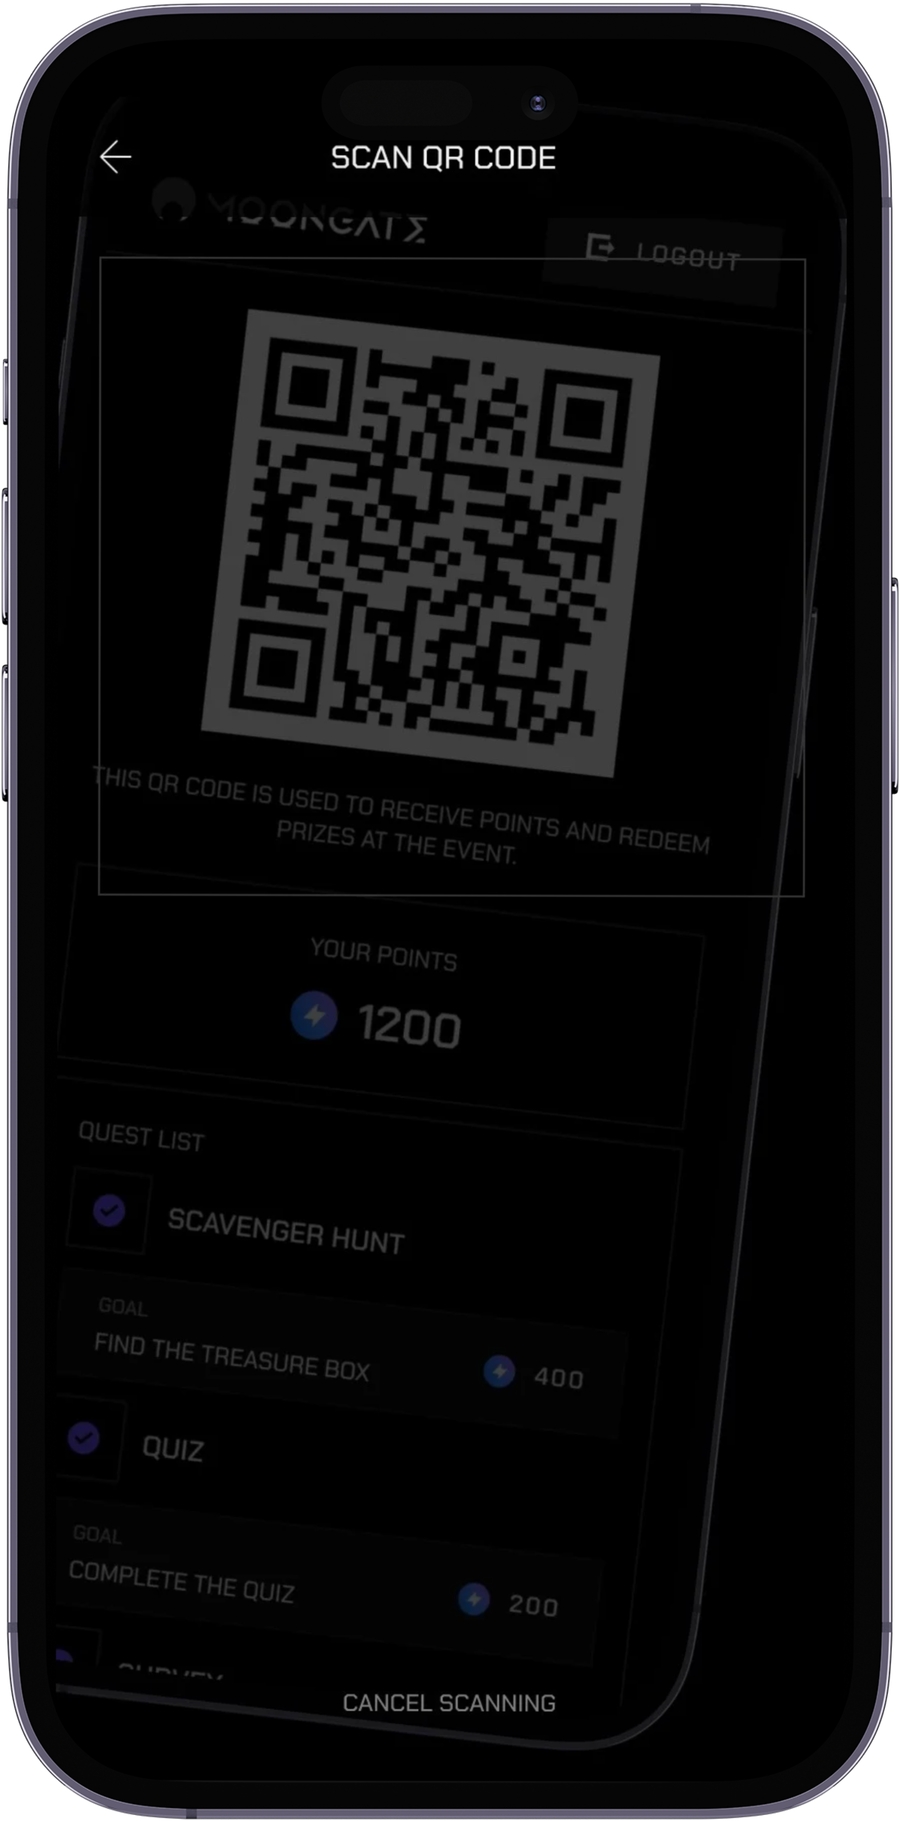
Issuing Points through QR Code
Select Scan QR Code Option
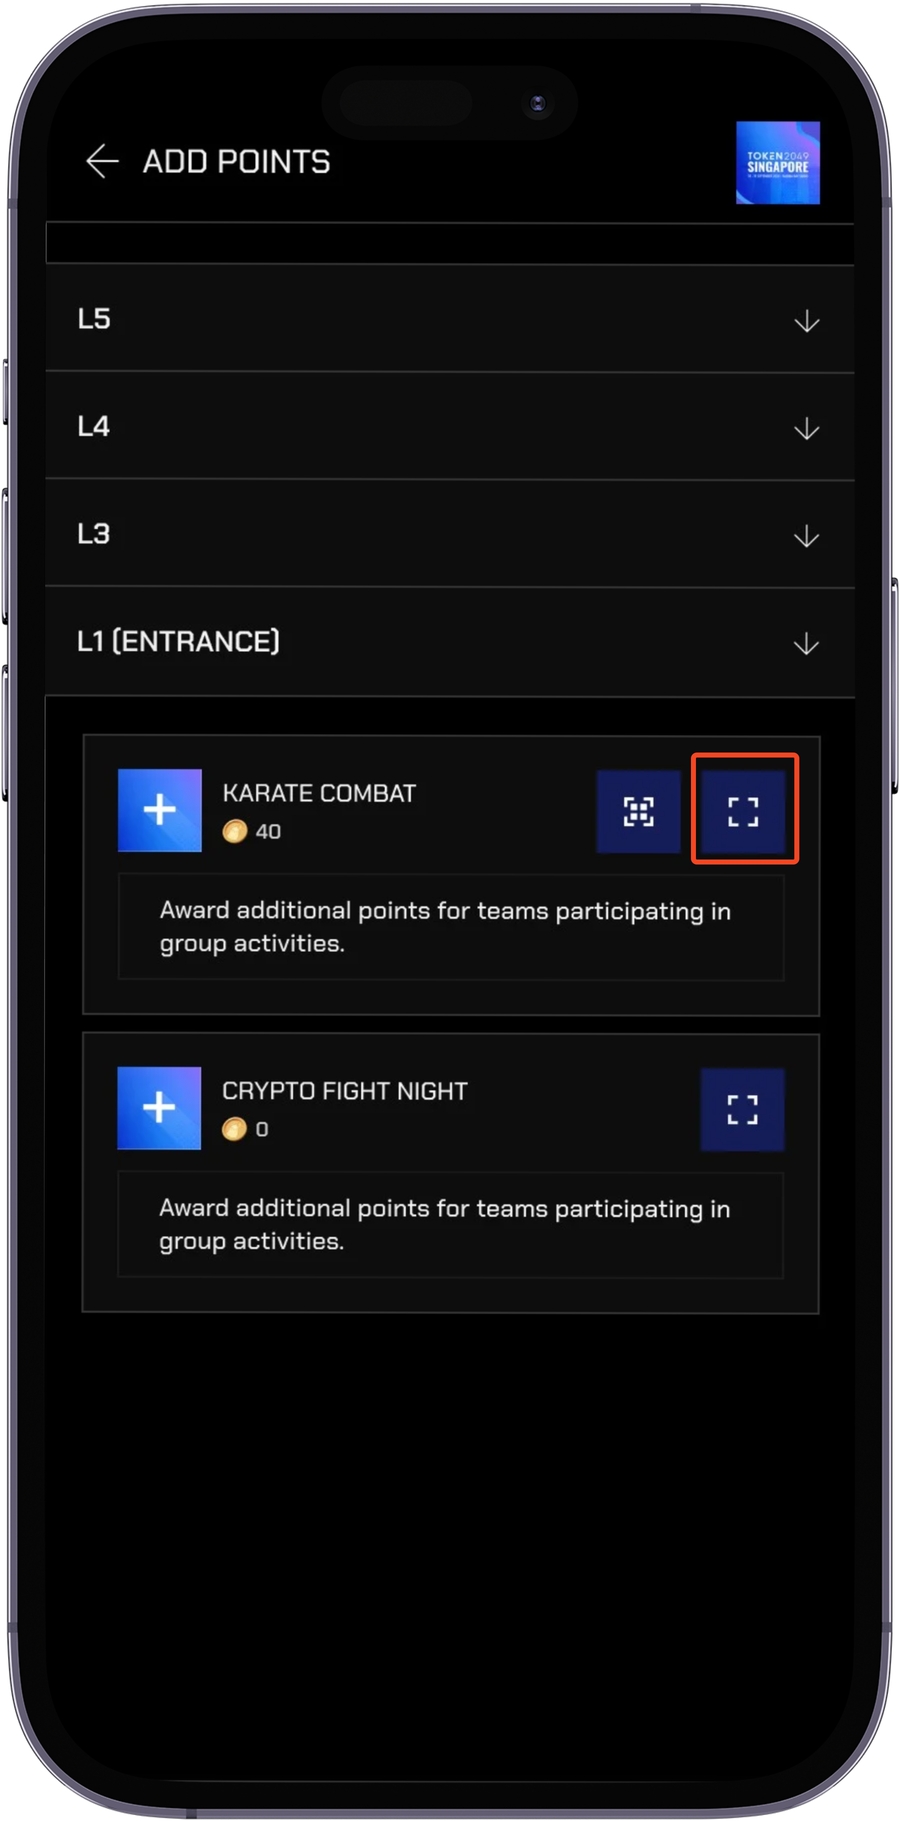
Scan user QR code

Confirm points issued to user
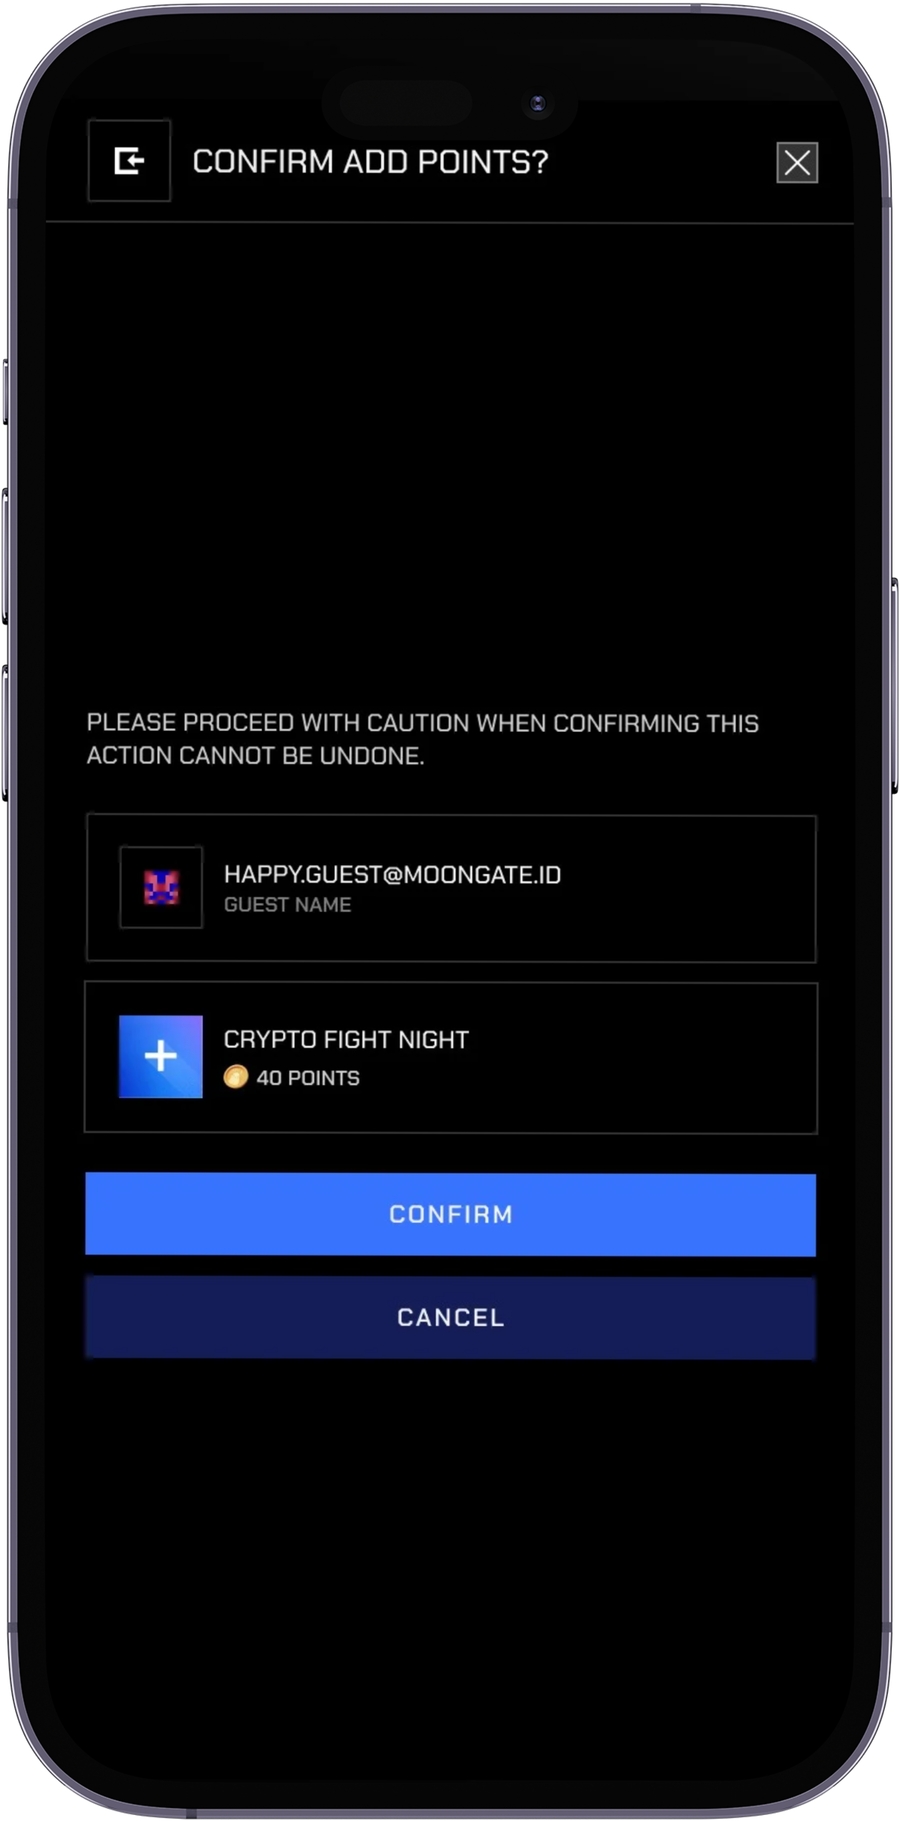
System Result
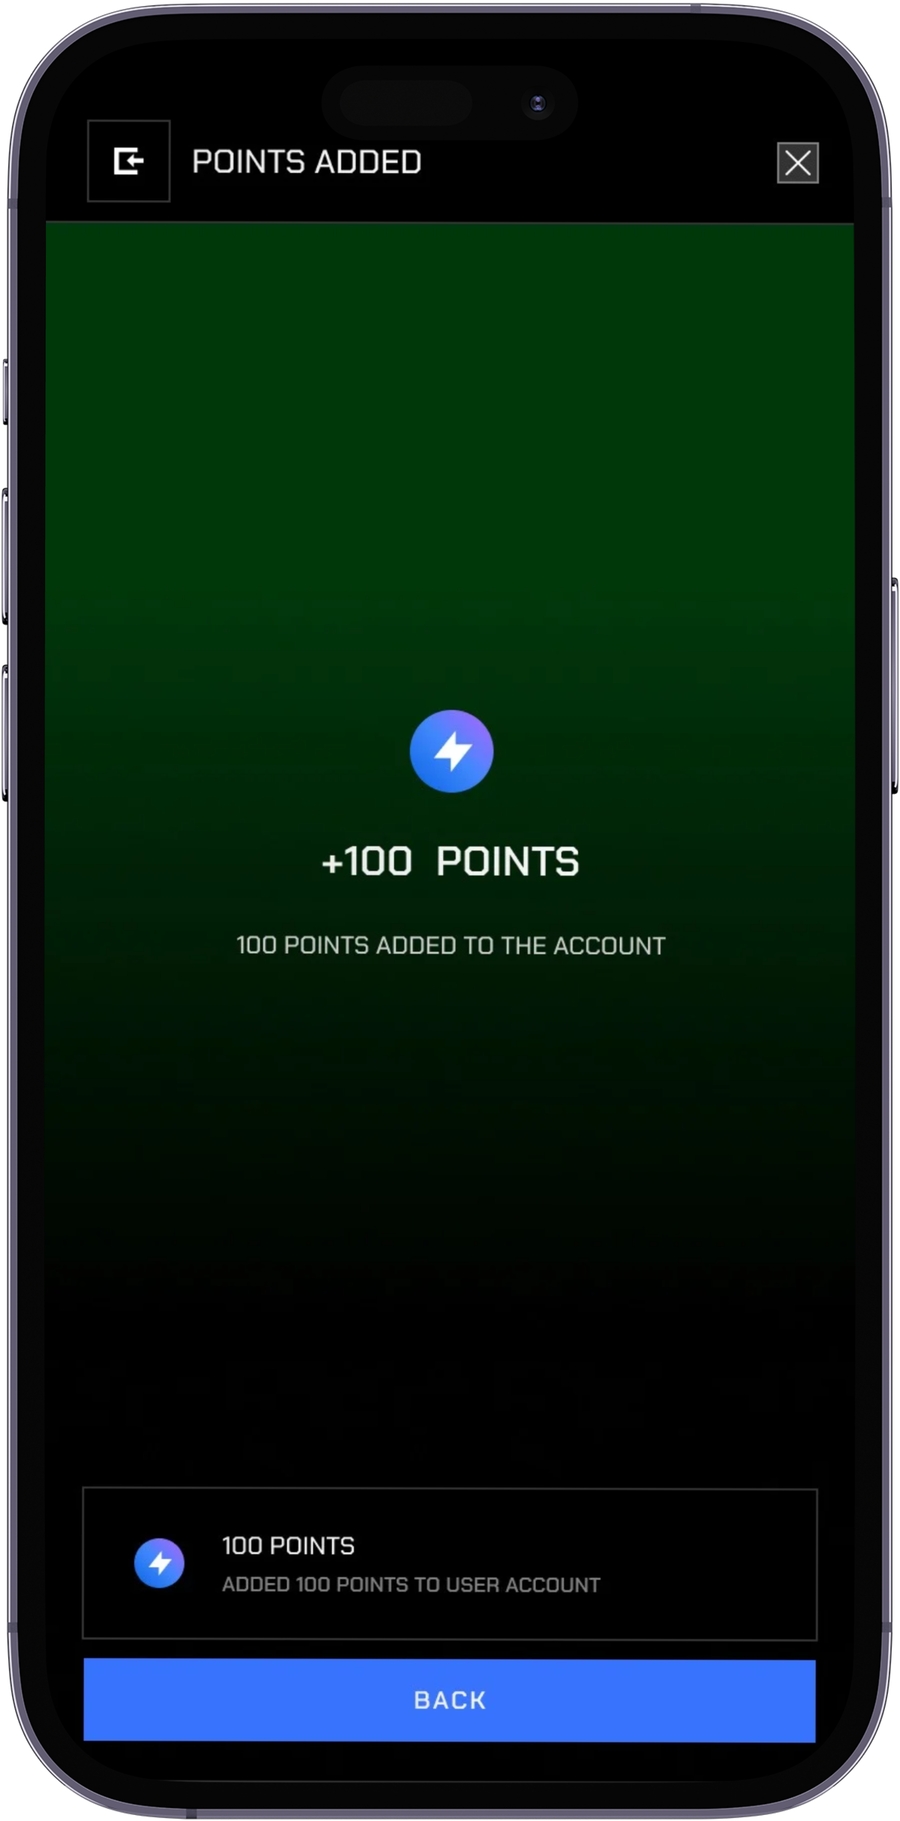
After pressing the CONFIRM button to add points
Points Added Successfully
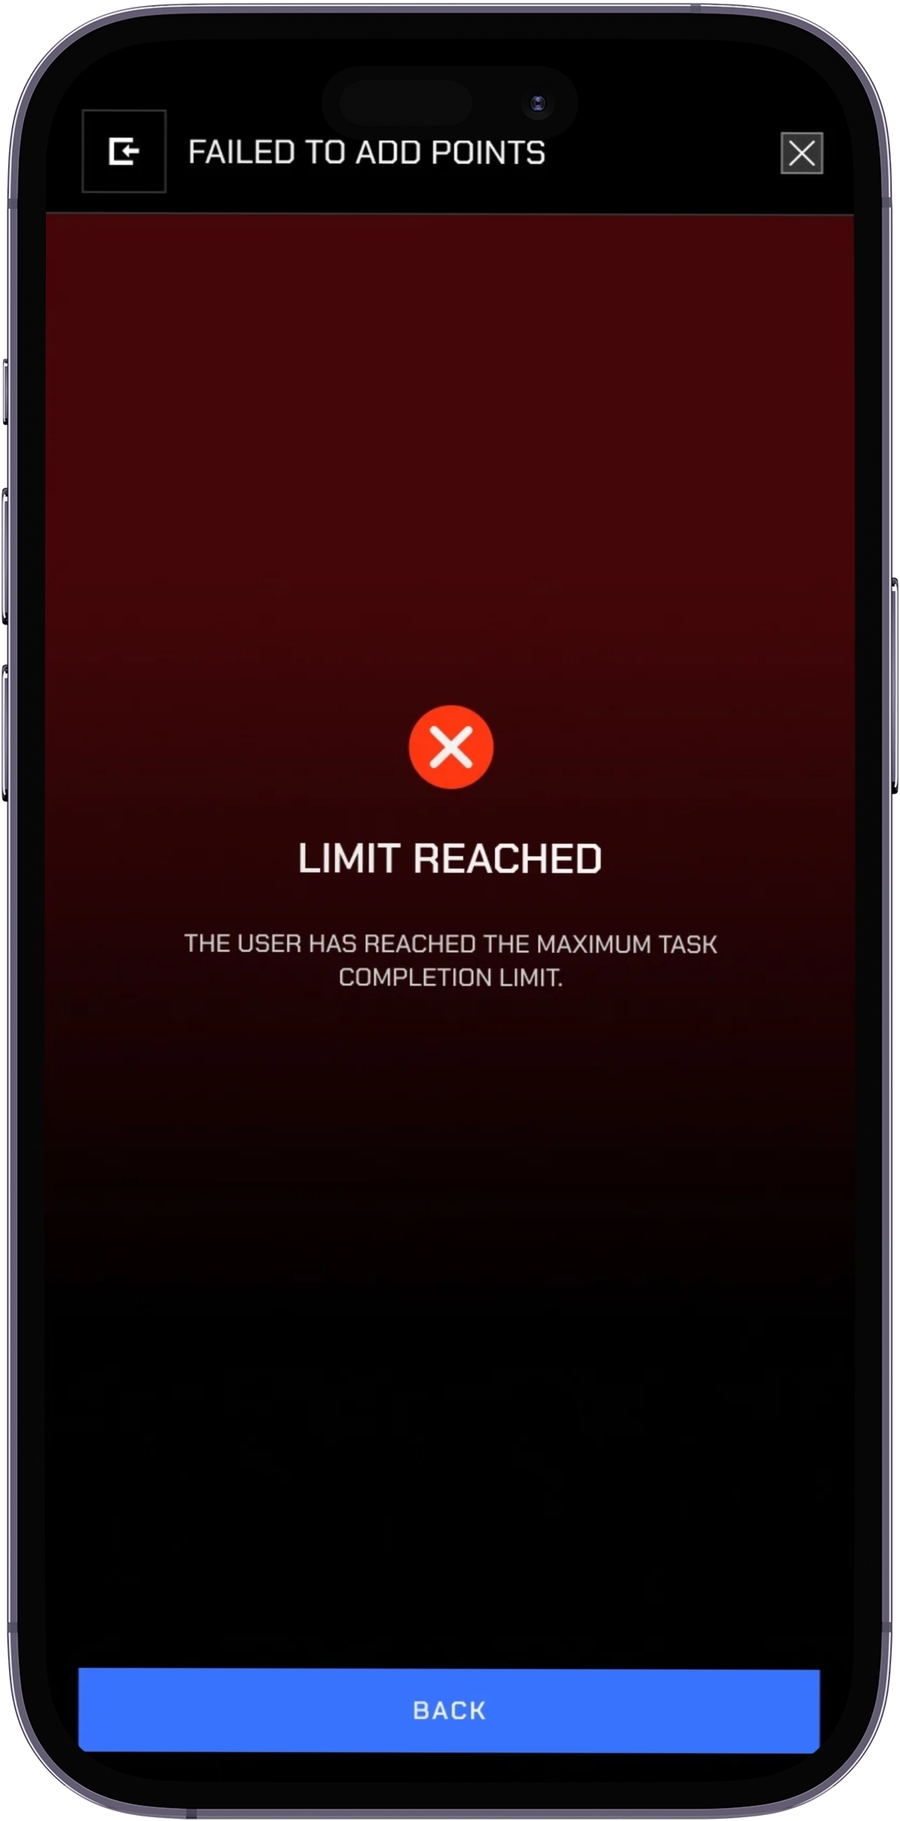
User has exceeded the limit for this activity
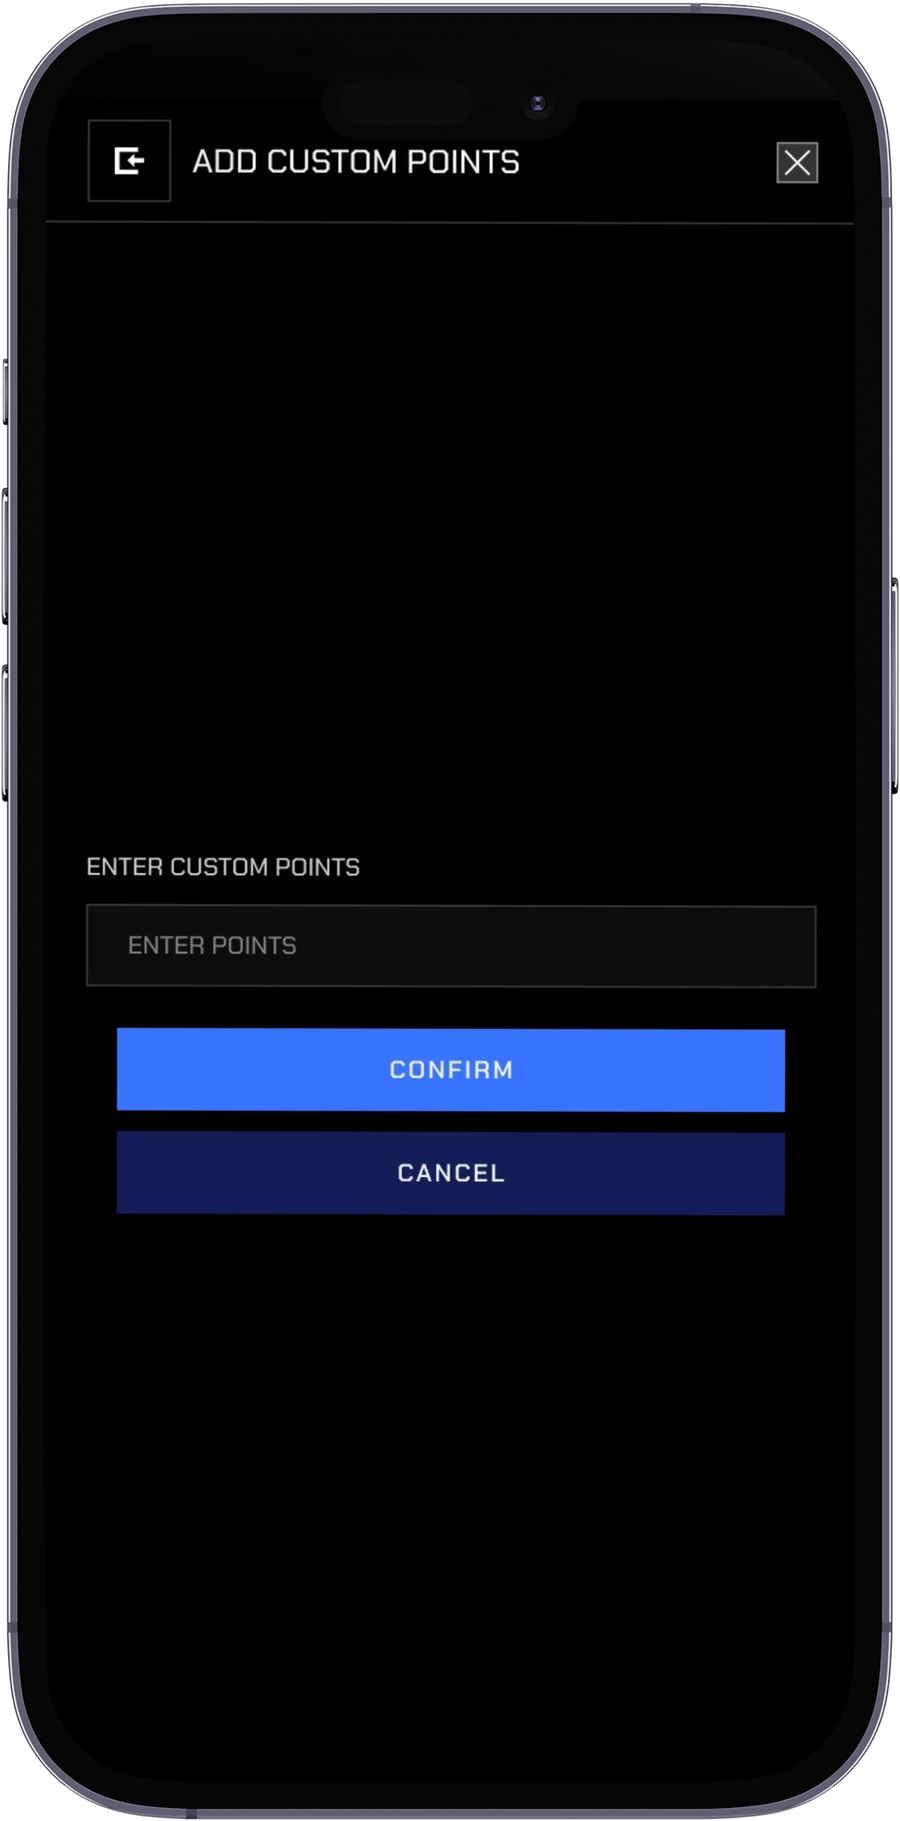
Custom Points
Custom Quests do not have a display QR Code option
Select Scan QR Code Option
 2
2
Enter custom number and Confirm
Scan user QR code

Redeeming Points
To issue points click the REDEEM PRIZE button on the dashboard
You will see a list of prizes that you can redeem on this page.
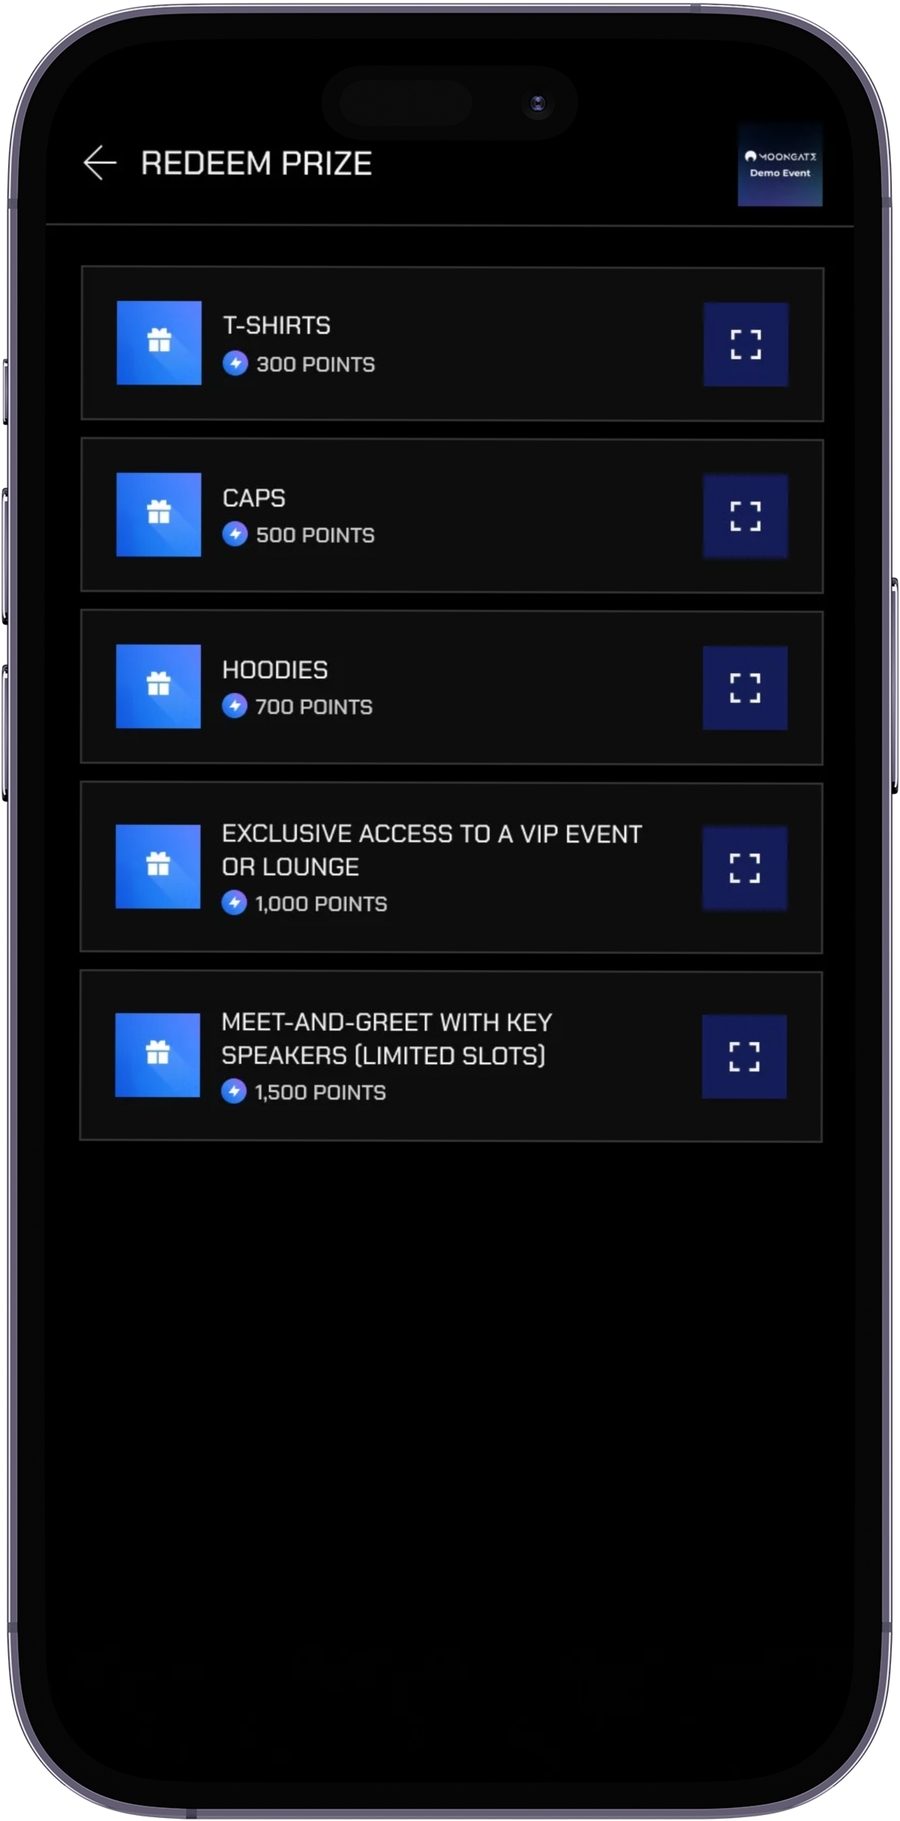
Selecting Prizes and Redemption
Select Prize
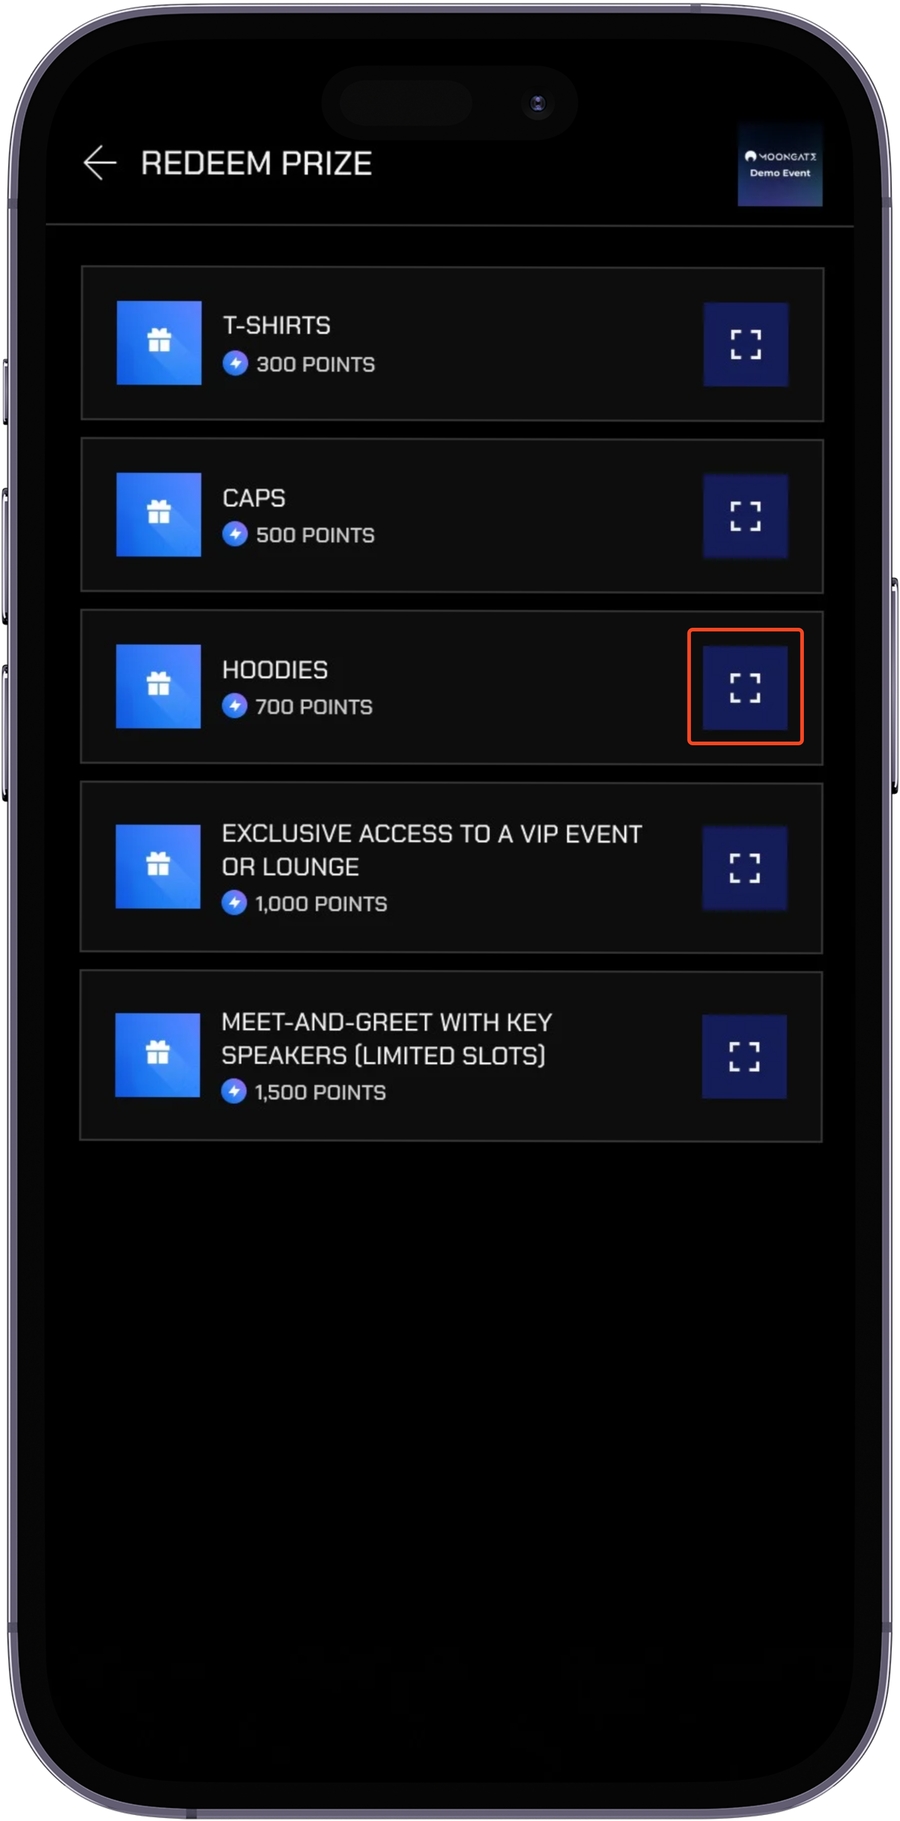
Scan user QR code

Confirm Redemption
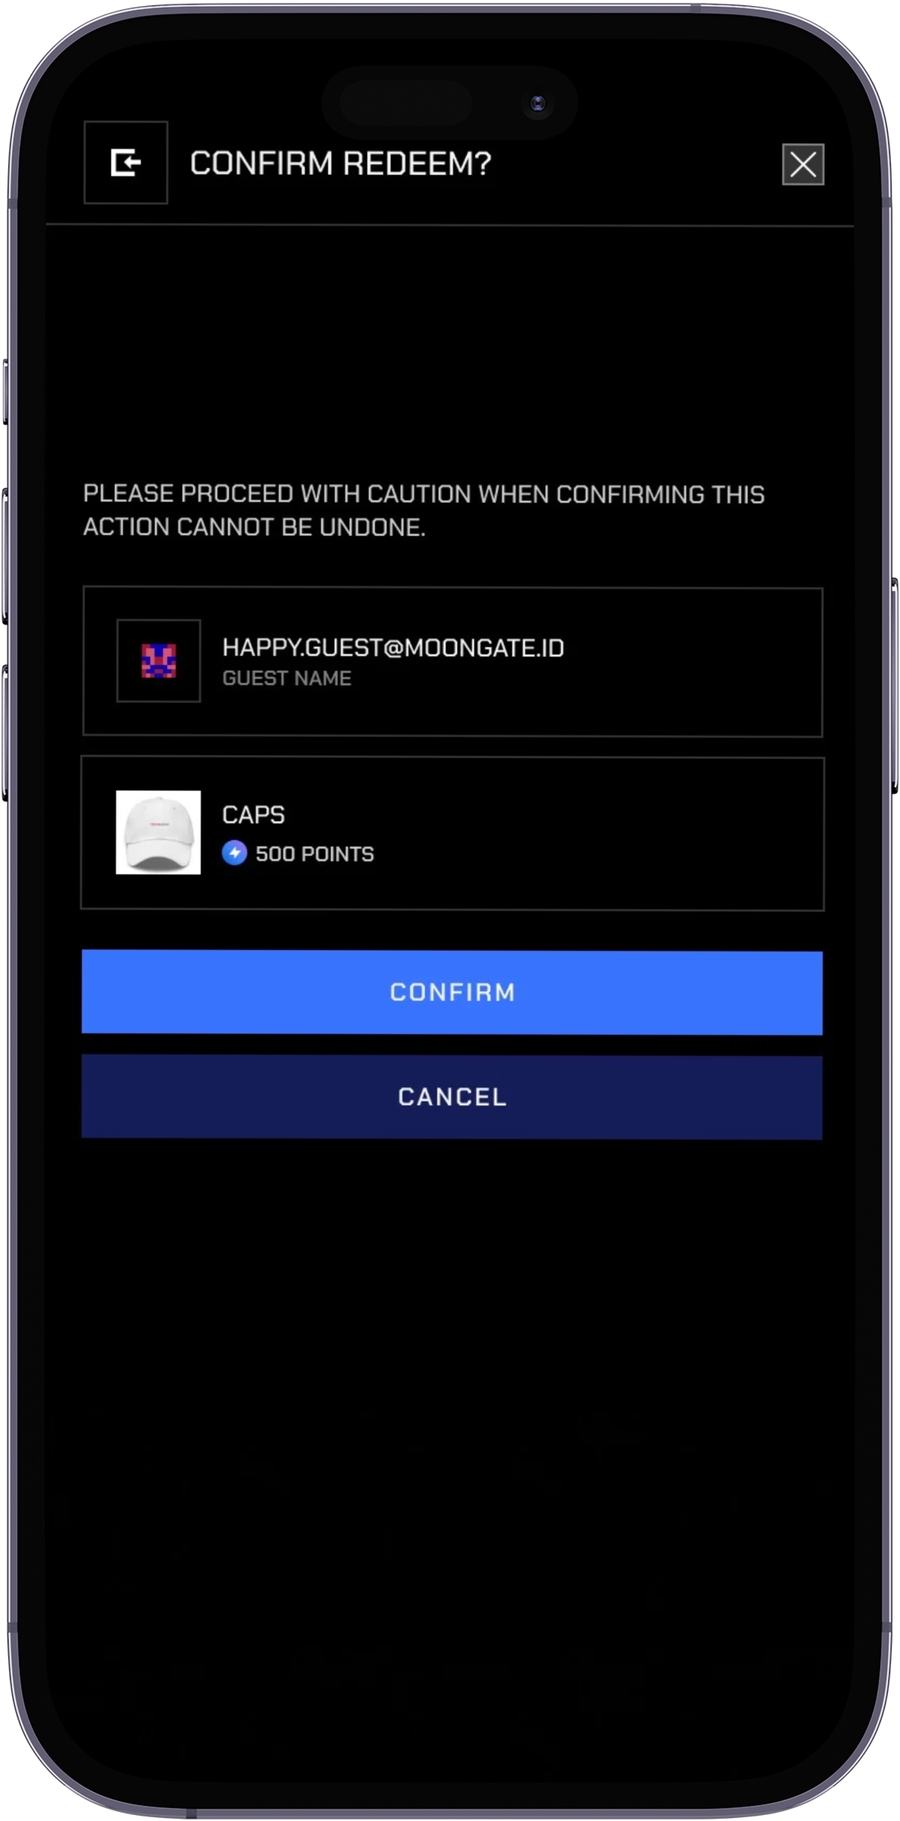
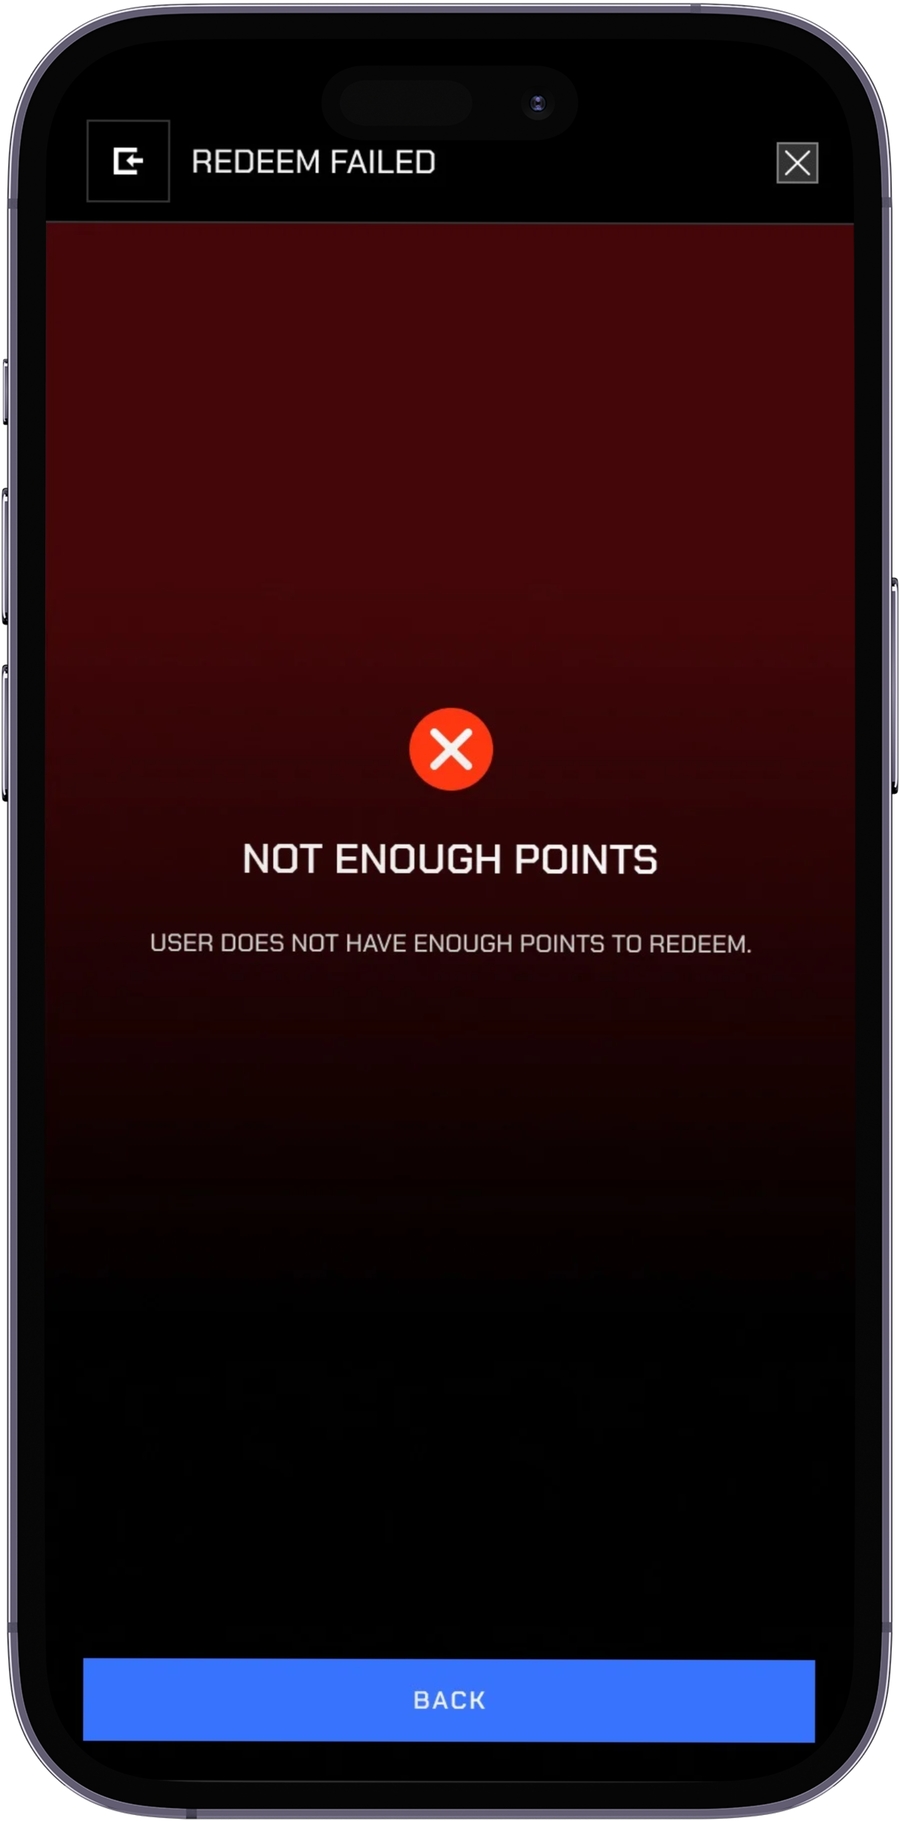
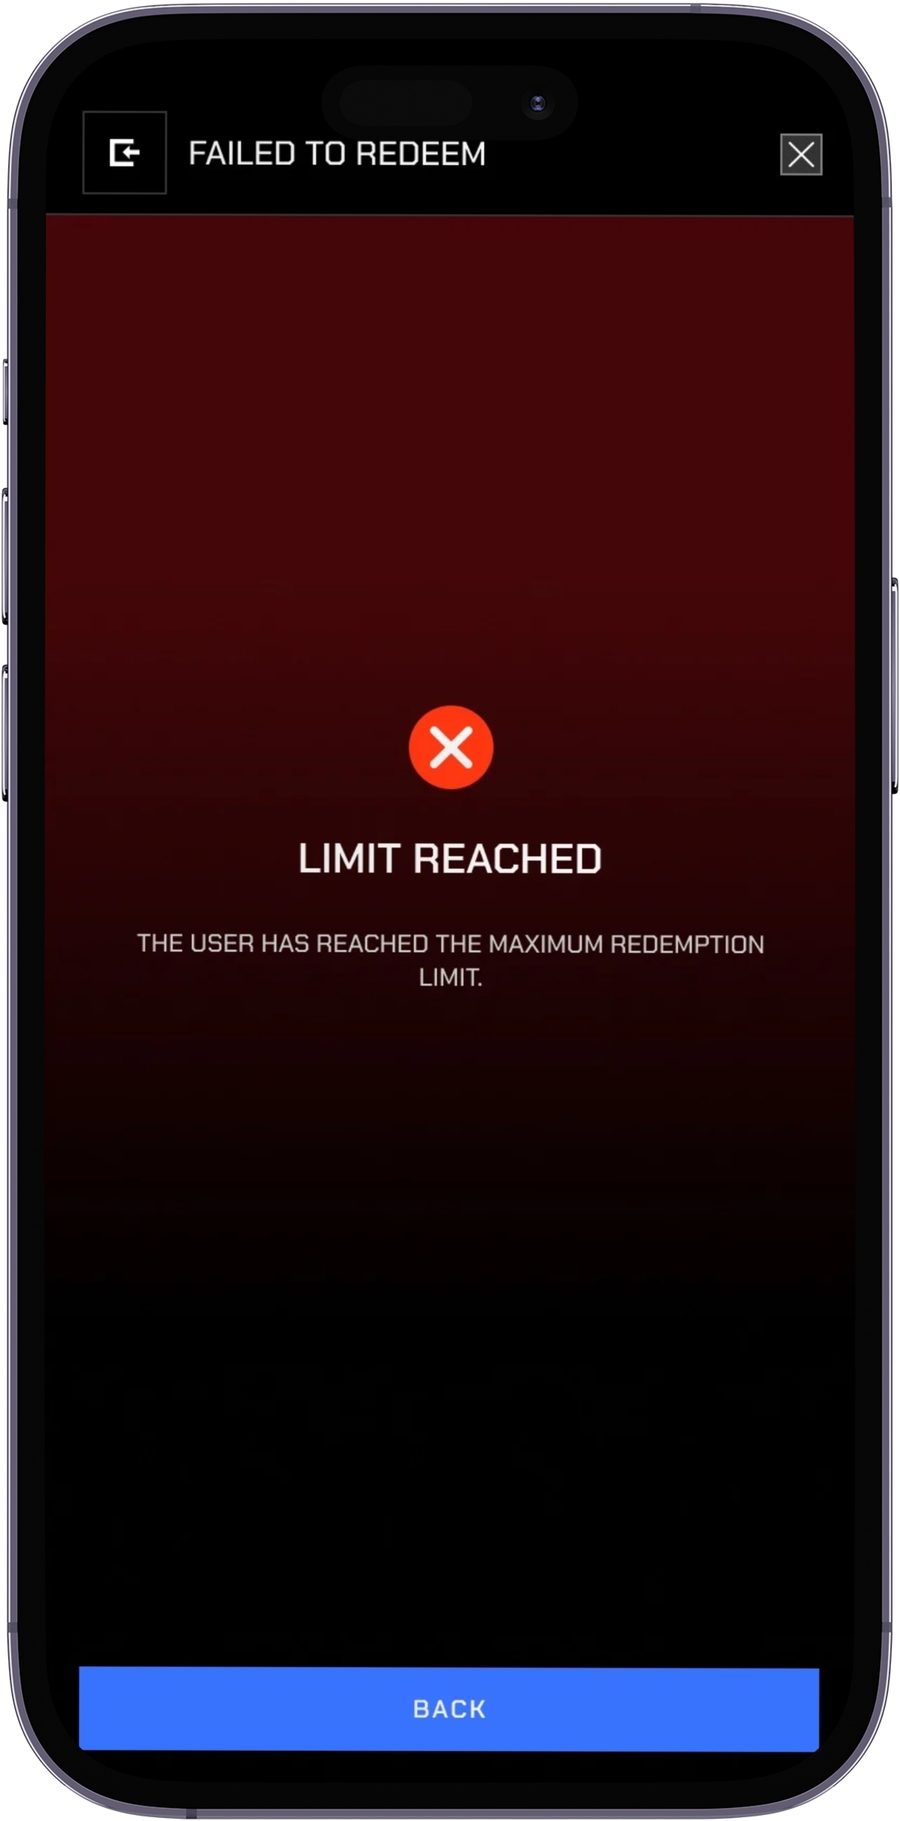
Redemption Result
After pressing the CONFIRM button to add points
Successfully Redeemed
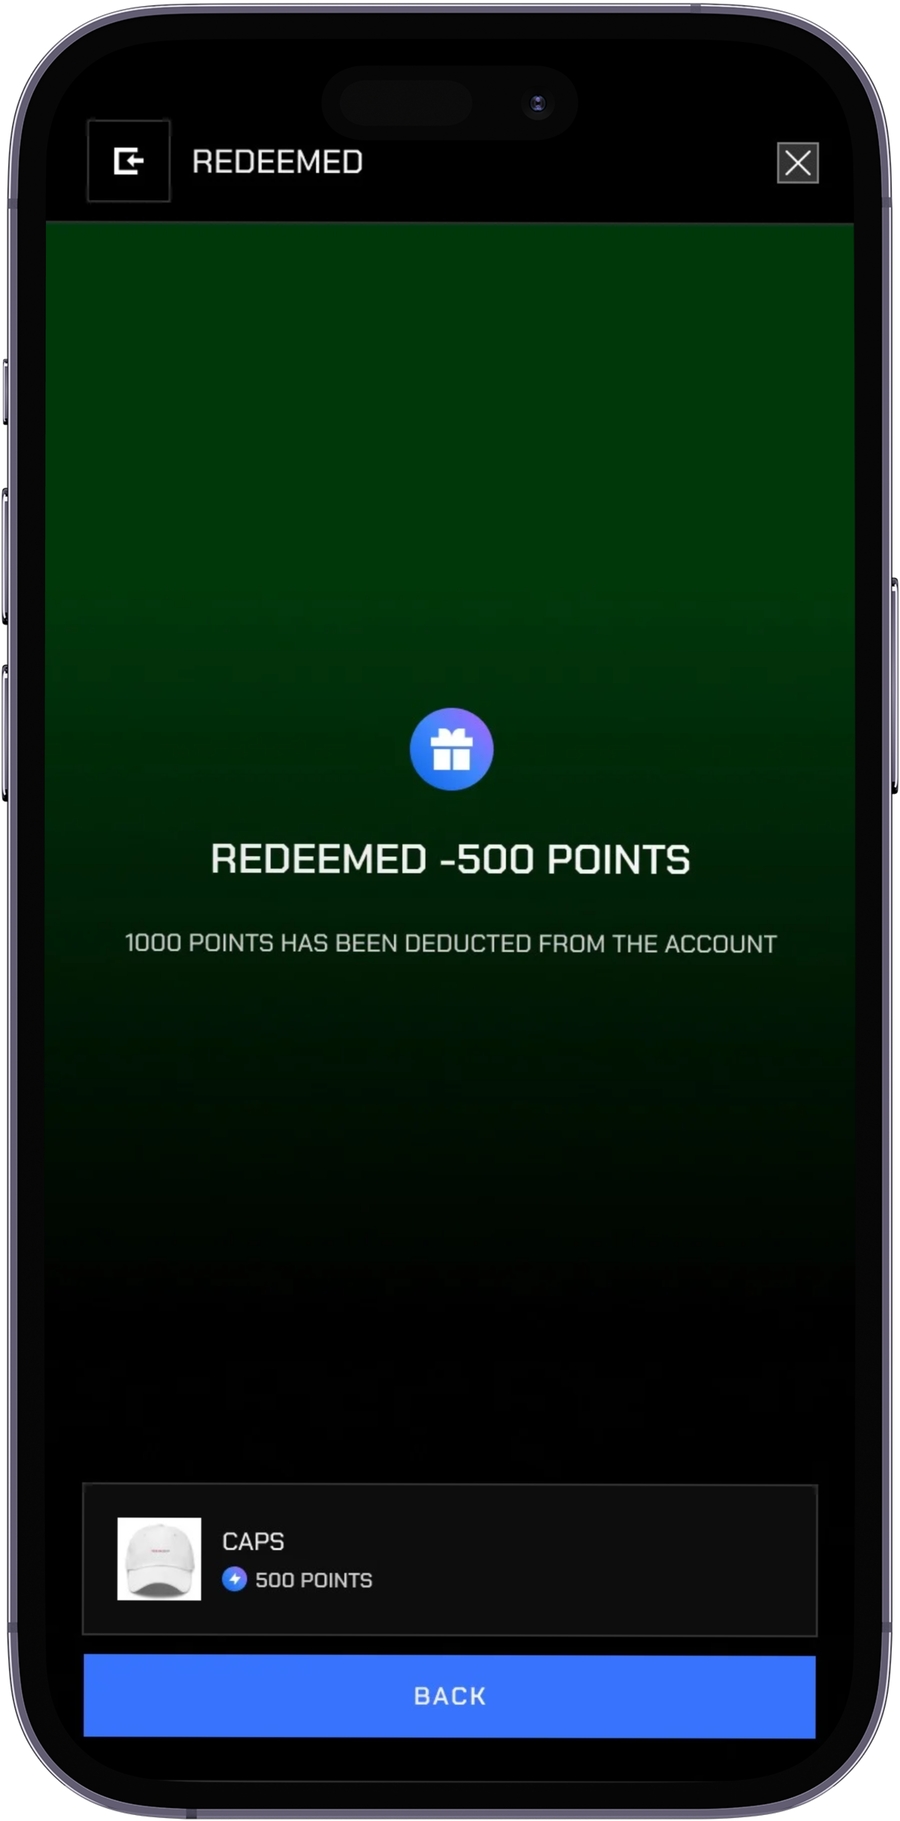
Failed: User did not have enough points
Failed: User has reached item redemption limit
Last updated