
Creating Tickets
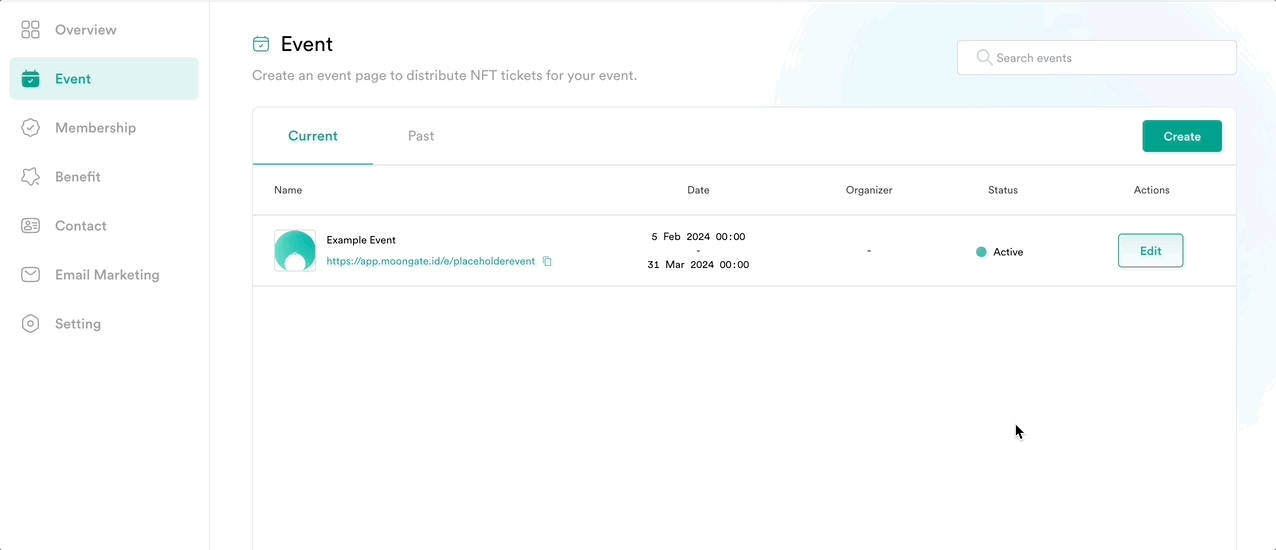
Add a new ticket type Within the target event’s overview page, open the ‘③ Tickets’ tab and then click ‘Add Ticket’ to create a new ticket type. A pop-up will appear.
Add ticket name/tier Enter the name or category (GA, VIP, Concession, etc) for this ticket type. Additional ticket types can always be added later.

Please note that future updates made to the “Ticket Name” field may not automatically appear on NFT marketplaces for NFTs that have already been minted. To ensure the latest metadata is displayed, manually refresh the NFT metadata on the respective marketplaces.

Add ticket image and description Upload an image and a brief description for this ticket type.
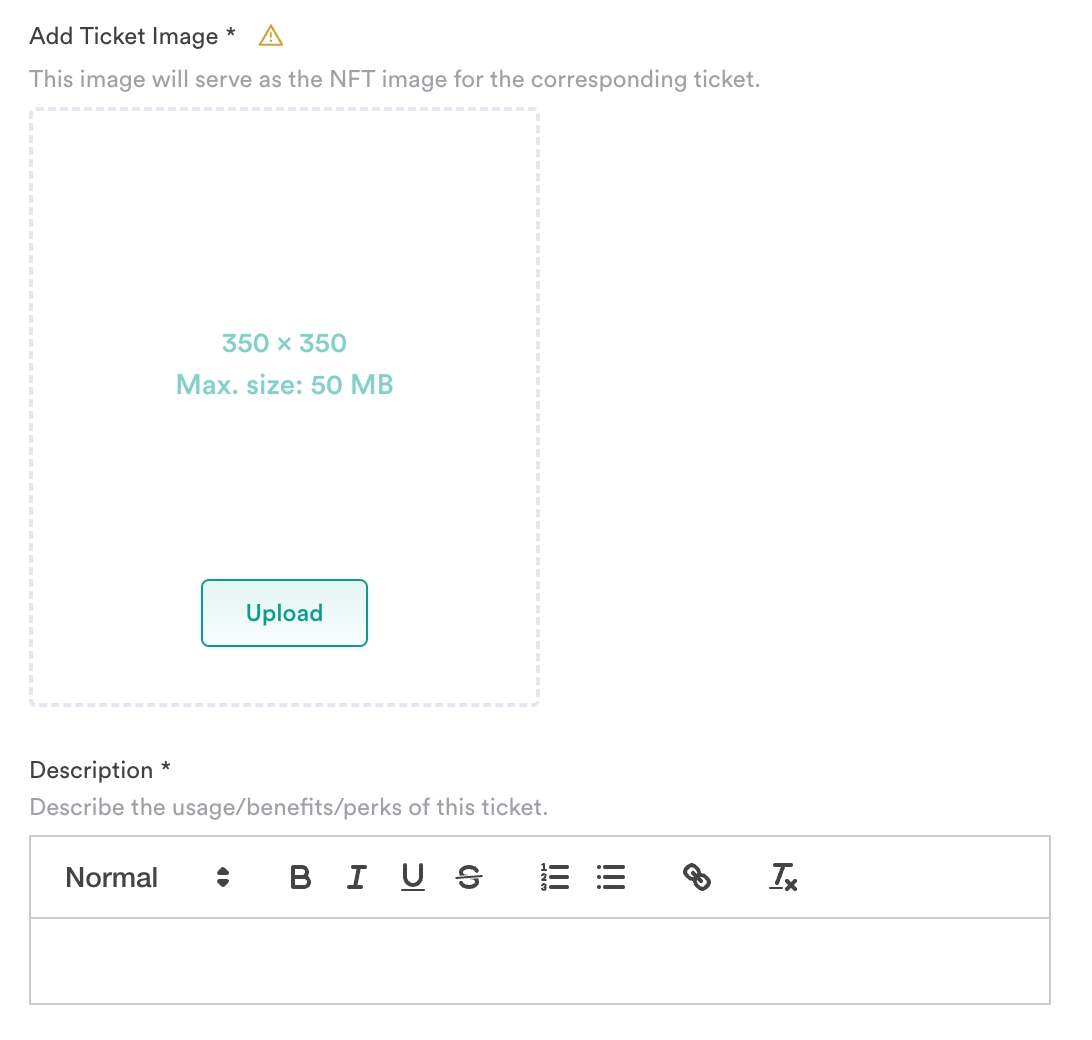
Please note that future updates made to ticket images may not automatically appear on NFT marketplaces for NFTs that have already been minted. To ensure the latest metadata is displayed, manually refresh the NFT metadata on the respective marketplaces.


Specify ticket price and sales period
Enter the desired price for this ticket type, as well as when sales of this ticket type will begin and end.

Set the price to 0 for free tickets.
To change the currency type, return to “① Info” in the sidebar and change the value in the “Currency” field.
Hidden tickets, gated tickets, limited quantities, invite only tickets, etc (optional) The advanced options menu allows you to specify the number of available tickets of this type, the maximum number of tickets of this type purchasable in a transaction, gating settings via NFT/email/wallet, whether this ticket type should be hidden on the event page, and whether users require a special code to purchase this ticket type.


Click the "Limited Quantity" toggle to specify the number of available tickets of this type. When sales of this ticket type meet the specified quantity, the ticket will no longer be available for purchase.

Enter a value in the "Limited Purchase per Transaction" field. Users will not be able to purchase more of this ticket type in a single transaction (for themselves and others) than the specified value.

Click the "Limited Purchase per user" toggle to activate this option, then enter a value in the "Maximum Purchase per user" field. Users will not be able to purchase more of this ticket type for themselves than the specified value.
For example, if the value was set to 1, the user could not purchase more than one of this ticket type for themselves, but they could still purchase tickets on the behalf of others.
When you are ready, click "Save" to close the ticket details panel, then click "Next."
Add questions (optional)

If applicable, add questions to collect information from users who are purchasing tickets. These questions will be shown to users during checkout.

Responses can be viewed from the event's Sales tab, located in the event dashboard.

Specify Contract Settings and Payment Options Choose a collection name and symbol for all ticket types associated with your event. The collection name will be used as the collection title when tickets are listed on marketplaces.

Collection name and symbol cannot be changed after your event is published.

Select a blockchain to mint your event and tickets on, as well as a contract type.

Publish your event
Once you have finalized your event and ticket details, click “Publish” to launch your event.

Preview Deployed Contract
After publishing your event, you can preview the deployed contract address in the Advanced Settings.
The Deployed Contract field cannot be changed and is only visible for published events, not for draft events.

Toggle Email Notifications
You can toggle if you wish to receive email notifications for every ticket purchased in your published events.

Last updated