# Cancel Ticket Transaction
{% tabs %}
{% tab title="Events" %}
1. **Navigate to the 'Dashboard' panel by selecting any event in the 'Event' Panel**
2. **To cancel a transaction, go to the 'Sales' tab, find the 'Action' column, click on the three dots, and then select 'Cancel'.**
3. **Confirmation dialog will appear once the 'Cancel' button is clicked to ensure the action is intentional.**
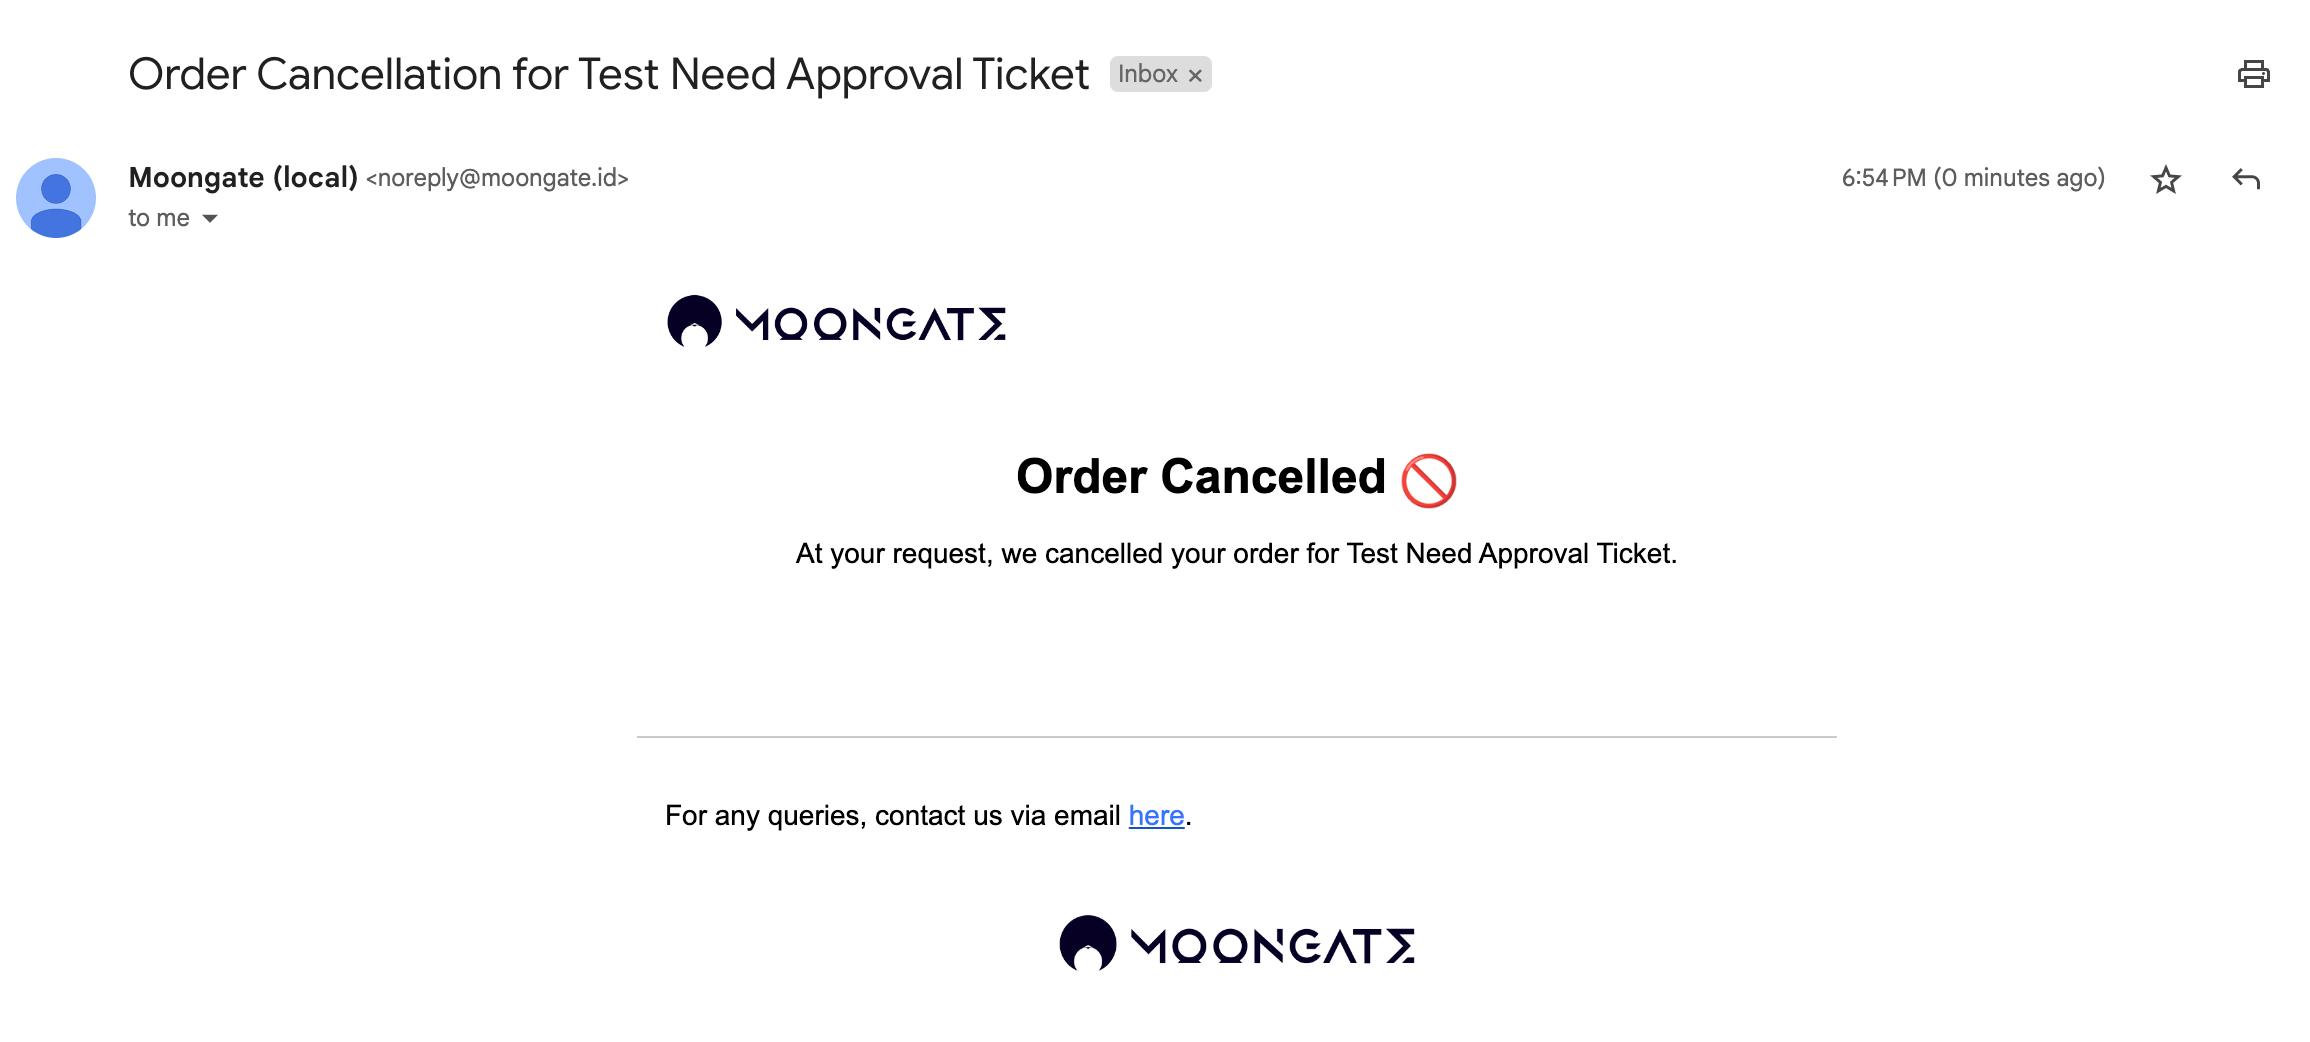
4. **Email notifications will be sent to users upon the cancellation of their tickets.**
5. **Status will be changed to 'Cancelled' on the selected ticket.**
**Once the cancellation is confirmed, the ticket status will be changed to “Cancelled”, and will no longer be valid for use.**
{% endtab %}
{% tab title="Membership" %}
1. **Navigate to the 'Dashboard' panel by selecting any memberships in the 'Membership' Panel**
2. **To cancel a transaction, go to the 'Members' tab, find the 'Action' column, click on the three dots, and then select 'Cancel'.**
3. **Confirmation dialog will appear once the 'Cancel' button is clicked to ensure the action is intentional.**
4. **Email notifications will be sent to users upon the cancellation of their tickets.**
5. **Status will be changed to 'Cancelled' on the selected ticket.**
**Once the cancellation is confirmed, the ticket status will be changed to “Cancelled”, and will no longer be valid for use.**
{% endtab %}
{% tab title="Benefits" %}
1. **Navigate to the 'Dashboard' panel by selecting any benefits in the 'Benefit' Panel**
2. **To cancel a transaction, go to the 'Summary' tab, find the 'Action' column, click on the three dots, and then select 'Cancel'.**
3. **Confirmation dialog will appear once the 'Cancel' button is clicked to ensure the action is intentional.**
4. **Email notifications will be sent to users upon the cancellation of their tickets.**
5. **Status will be changed to 'Cancelled' on the selected ticket.**

{% endtab %}
{% endtabs %}
{% hint style="warning" %}
Once the cancellation is confirmed, the ticket status will be changed to “Cancelled”, and will no longer be valid for use.
{% endhint %}