
Gating by NFT + Email/Wallet
Limit benefits to a group of specified users
Merchants can restrict the ability to claim a benefit to specified people only, allowing vendors to offer exclusive value to customers.
Unlike tickets or membership passes, eligibility to claim a benefit must be determined by ownership of an NFT within specified collections (i.e gating is mandatory.) Benefits can additionally be gated via email and wallet.
Step 1: Select NFT Collection to Gate By
Locate the ‘Gated by NFT’ settings within the target benefit’s edit panel.
If you have hosted an event that was ticketed/created a membership program administered by Moongate, simply select “Your Collection” from the “Type” field.
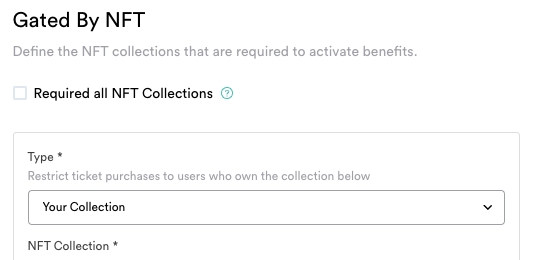
Your Collection
Select the target event/membership program from the 'NFT Collection' field.
Select the target ticket/membership tier from the 'Type' field.
Select “All Tier” if you do not want to gate by ticket/membership tier (i.e membership tier will be available to all ticket holders from the specified event/all members of the specified membership program.)
If you are gating by an external NFT collection, select "Other Collection."
Other Collection

Select the network on which the target NFT collection is hosted.
Enter the NFT collections' contract address.
Step 1: Enable Email/Wallet-gating
Navigate to the "Advance" section for the membership tier to be gated and enable "Gated by Email/Wallet."

Step 2: Choose a Whitelisting Method
Select CSV if there are a large number of people that you will be gating this membership tier to, and Manual for a smaller quantity.
CSV (Bulk Import)

Download the CSV template

Add Addresses to the CSV Template
Open the template in a spreadsheet editor. Following the template format, input the target email and wallet addresses. You can mix email and wallet addresses concurrently.
Upload the CSV
Upload the edited CSV file and save.

Confirm Successful Import
Return to the Memberships page, locate the gated ticket type, and click the number in the "Gated by" column to confirm the addresses.


Manual

Click "Add Whitelist" and input an email/wallet address
Repeat as appropriate for additional addresses and save when complete.

Confirm Successful Import
Return to the Memberships page, locate the gated membership type, and click the number in the "Gated by" column to confirm the addresses.
Last updated