# Discount & Promo Codes
{% hint style="info" %}
The process of creating and implementing discounts and promo codes is identical for both tickets and memberships.
{% endhint %}
#### **Step 1: Sign into the** [**Moongate Merchant Portal**](https://portal.moongate.id)
[**https://portal.moongate.id/**](https://portal.moongate.id/)
#### Step 2: Navigate to the Target Event or Membership Page
#### Step 3: Navigate to the Discount & Codes Tab
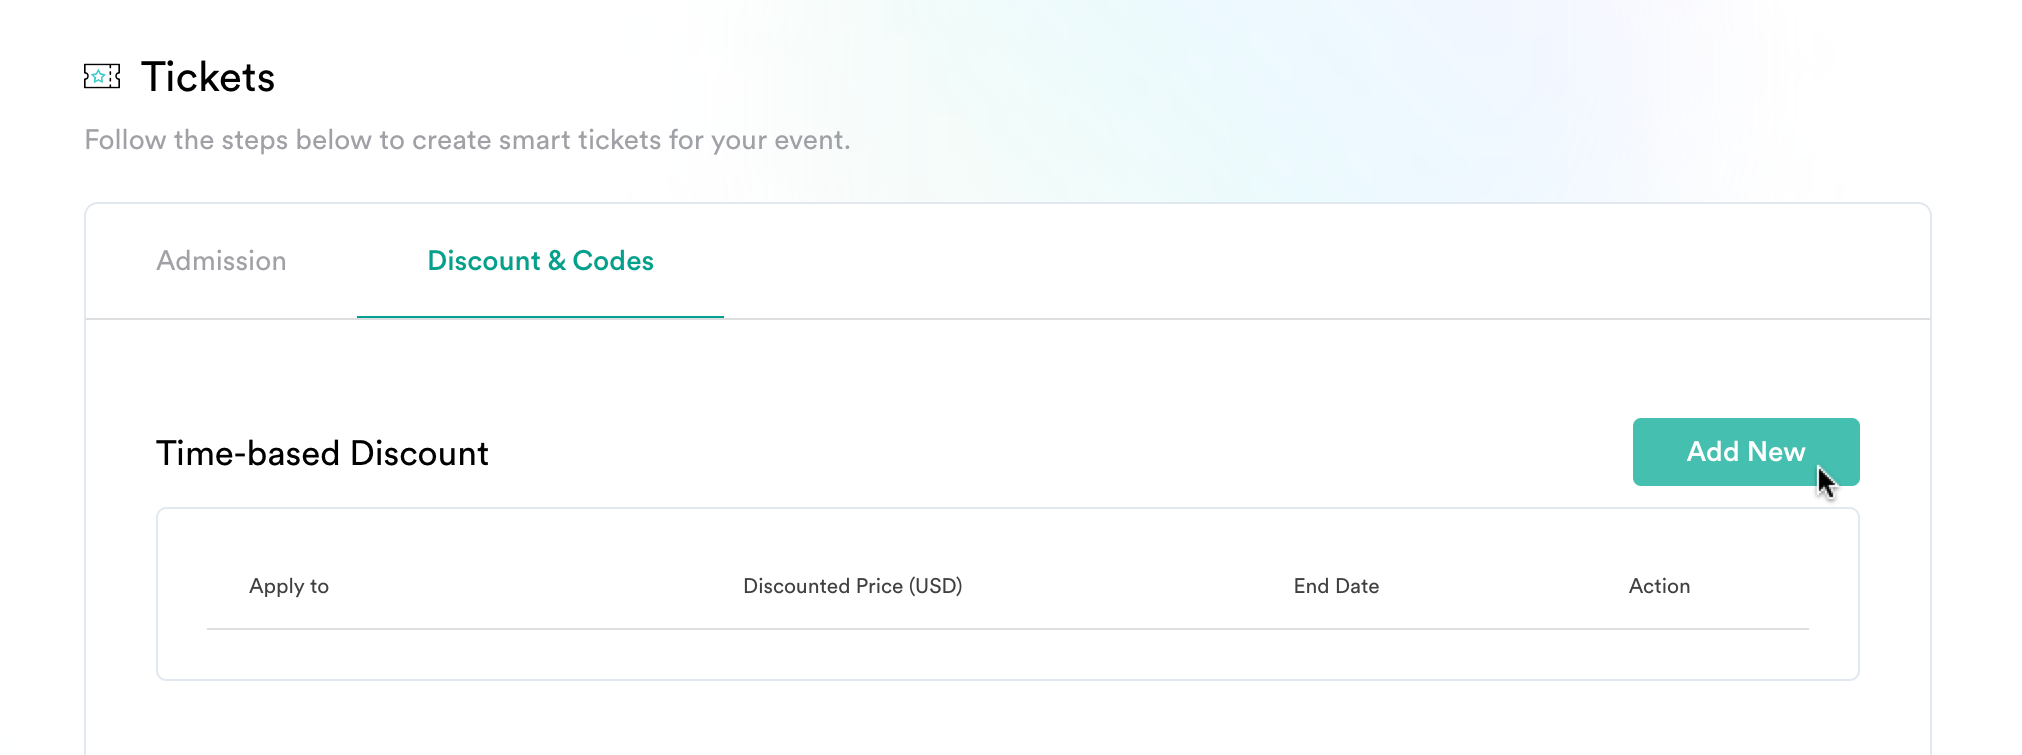
Go to the "③ Tickets" or "③ Tiers" page within the chosen event/membership page respectively, and then click on the "Discount & Codes" tab. From here you can add new time-based discounts and promo codes.
#### Step 4: Add a Time-based Discount/Promo Code
A time-based discount enables **all** users to purchase tickets/membership at a discounted price for a limited time only.
A promo code enables **only users with the code** to purchase tickets/memberships at a discounted price for an unspecified period of time.
{% tabs %}
{% tab title="Time-based Discount" %}
**Step 1: Click "Add New"**
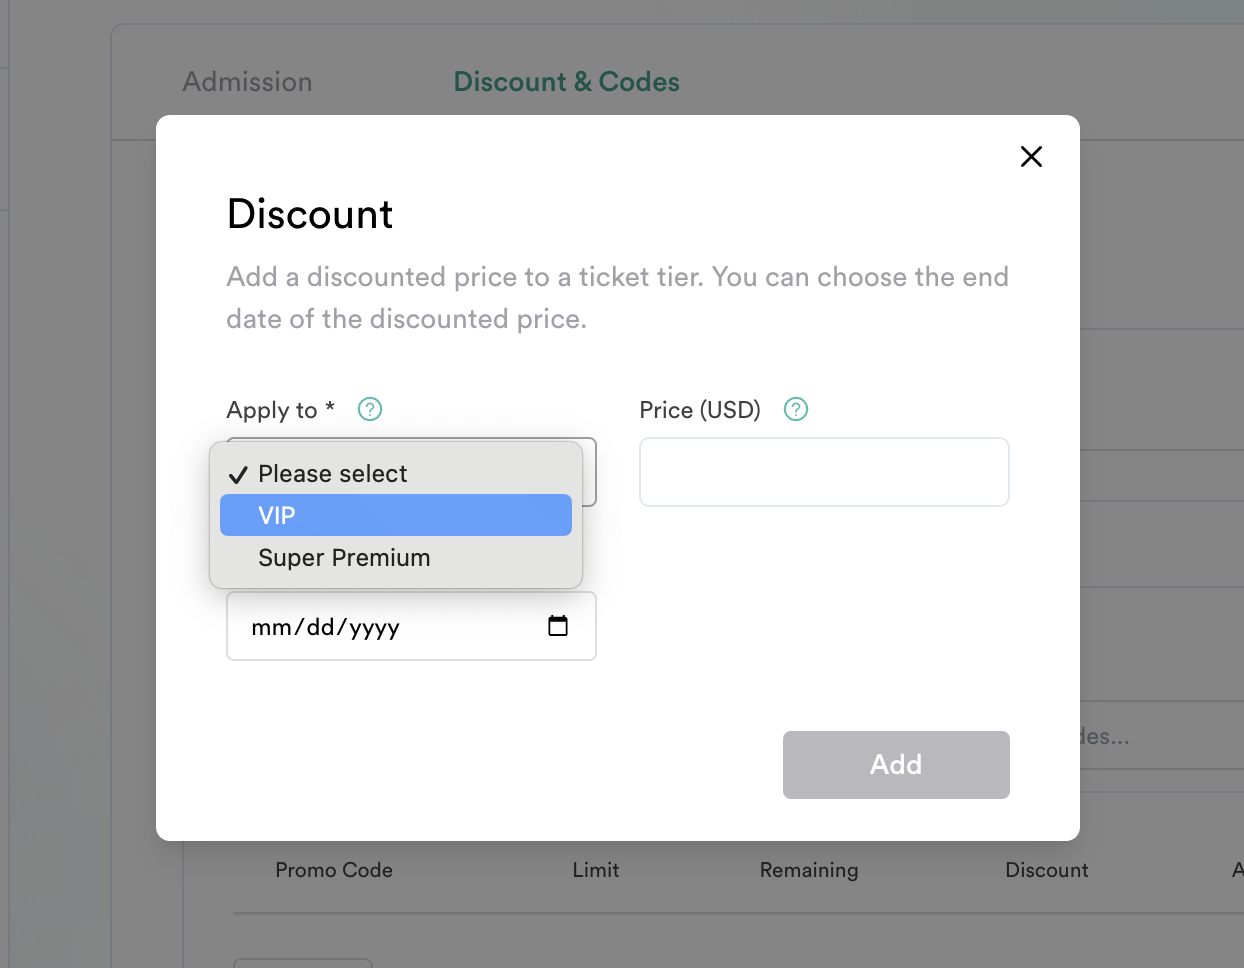
**Step 2: Select a Ticket Type/Membership Tier to Discount**
In the following window, select the ticket type/membership tier to apply a discount to.
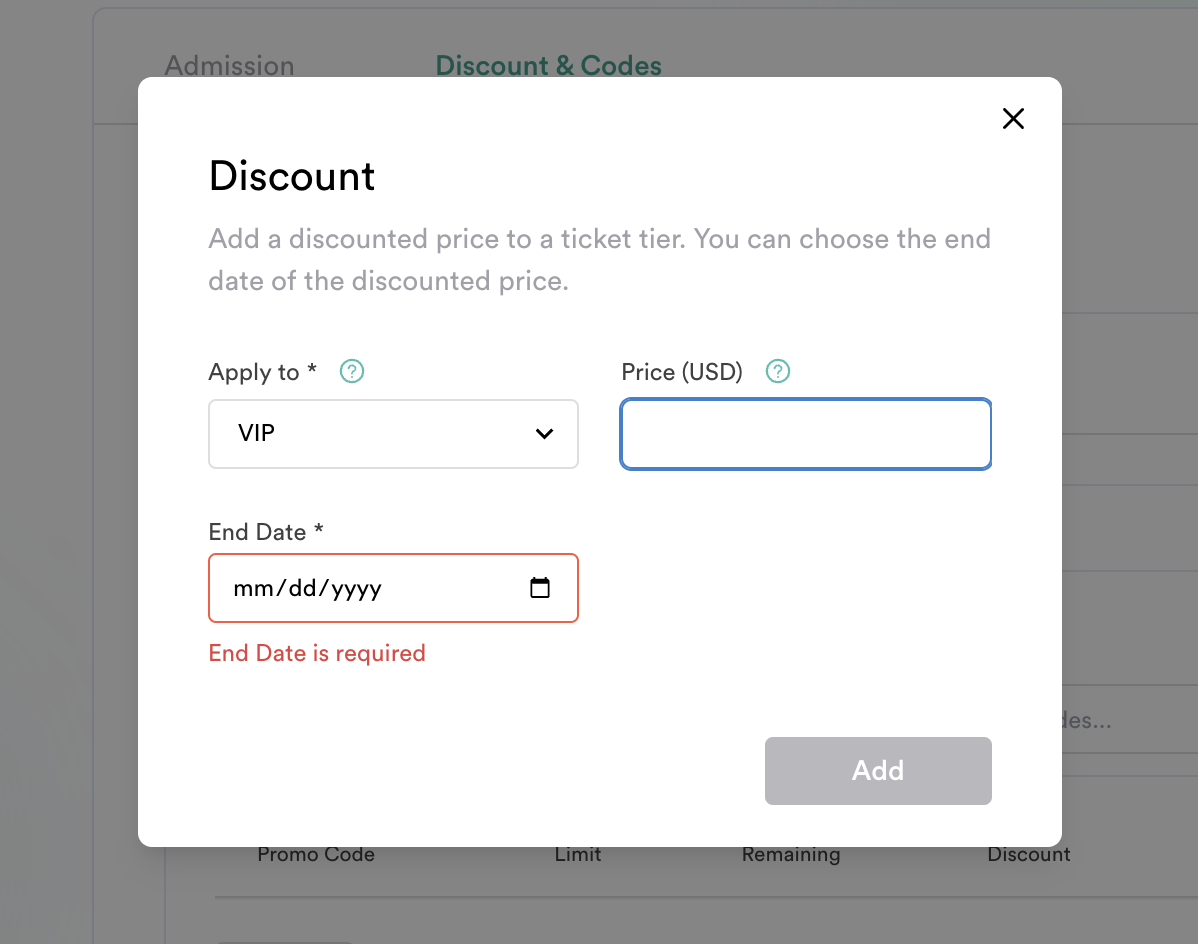
**Step 3: Set the Discounted Price**
**Step 4: Set the Discount End Date**
Click the calendar icon in the "End Date" field to open the date picker. Select a date for the discount period to end. The discount period will run from the current date to the selected date.
Click “Add” when complete. Your discount period is now in effect until the selected date.
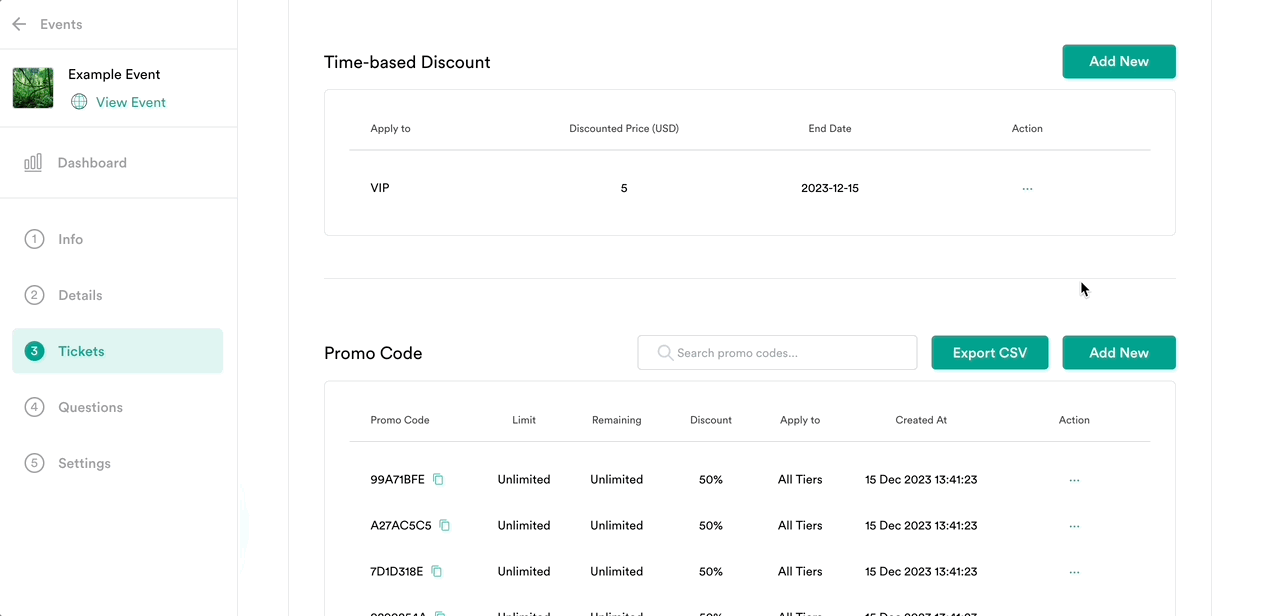
#### **Step 5:** Prematurely end discount period (optional)
Click "Add" to save. Your discount period is now in effect until the selected date.
The promotional period can be cut short by deleting the discount from the ticket type/membership tier. From the Discount & Codes Tab, click the action button for the target time-based discount, “Edit”, and then “Delete” on the following window.
{% endtab %}
{% tab title="Promo Code" %}
**Step 1: Click "Add New"**
**Step 2: Select a Ticket Type/Membership Tier to Discount**
In the following window, select the ticket type/membership tier to apply a discount to.
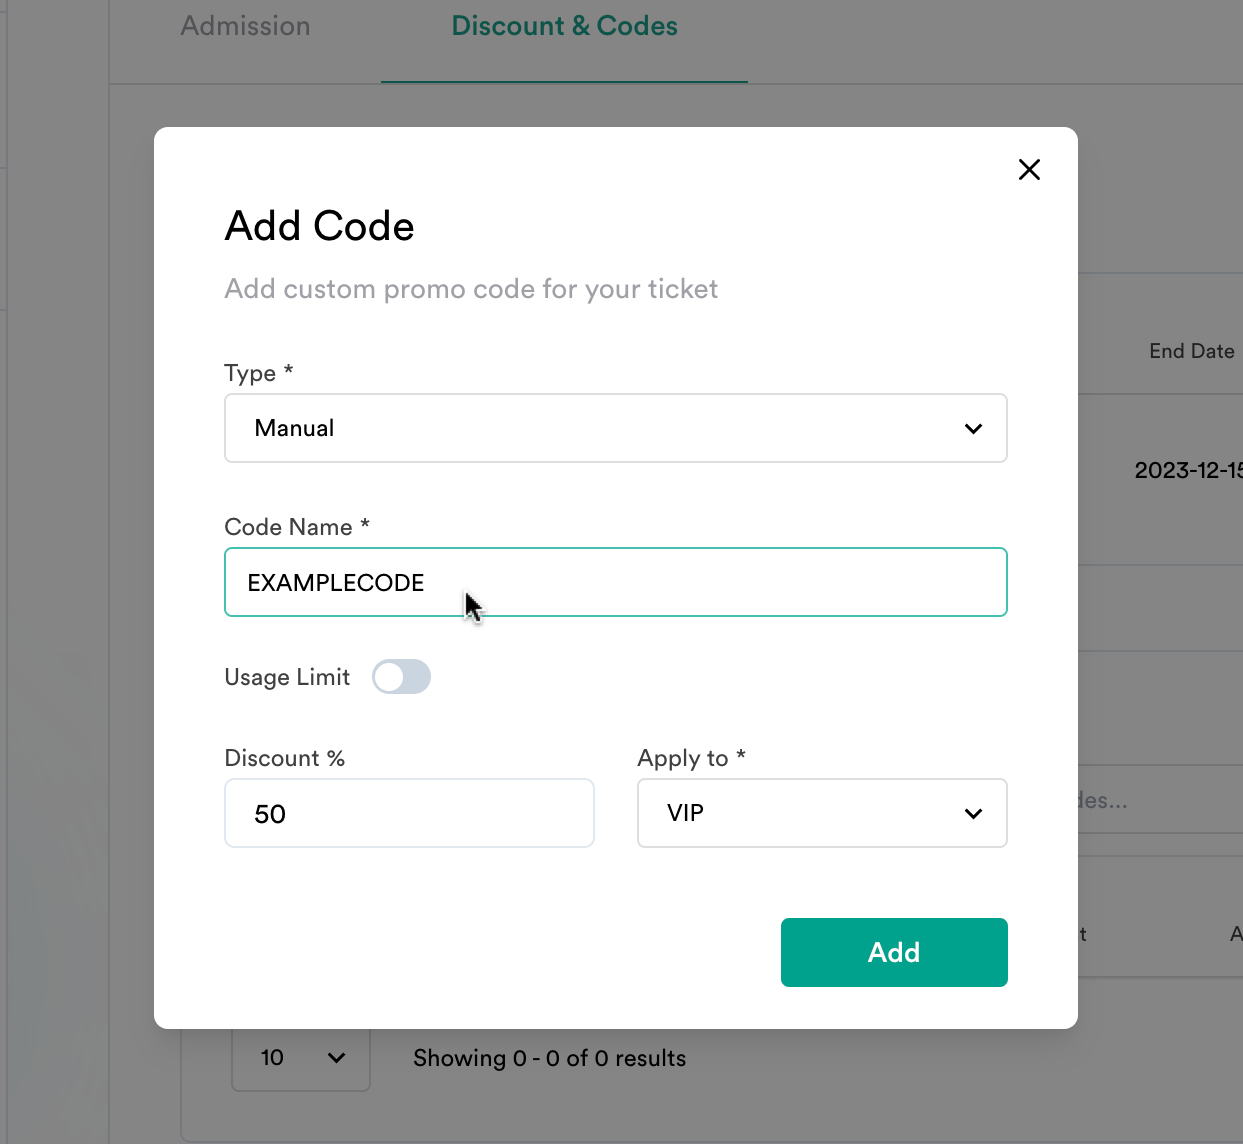
#### **Step 3:** Enter a discount percentage
**Step 4: Manually generate or bulk generate promo codes**
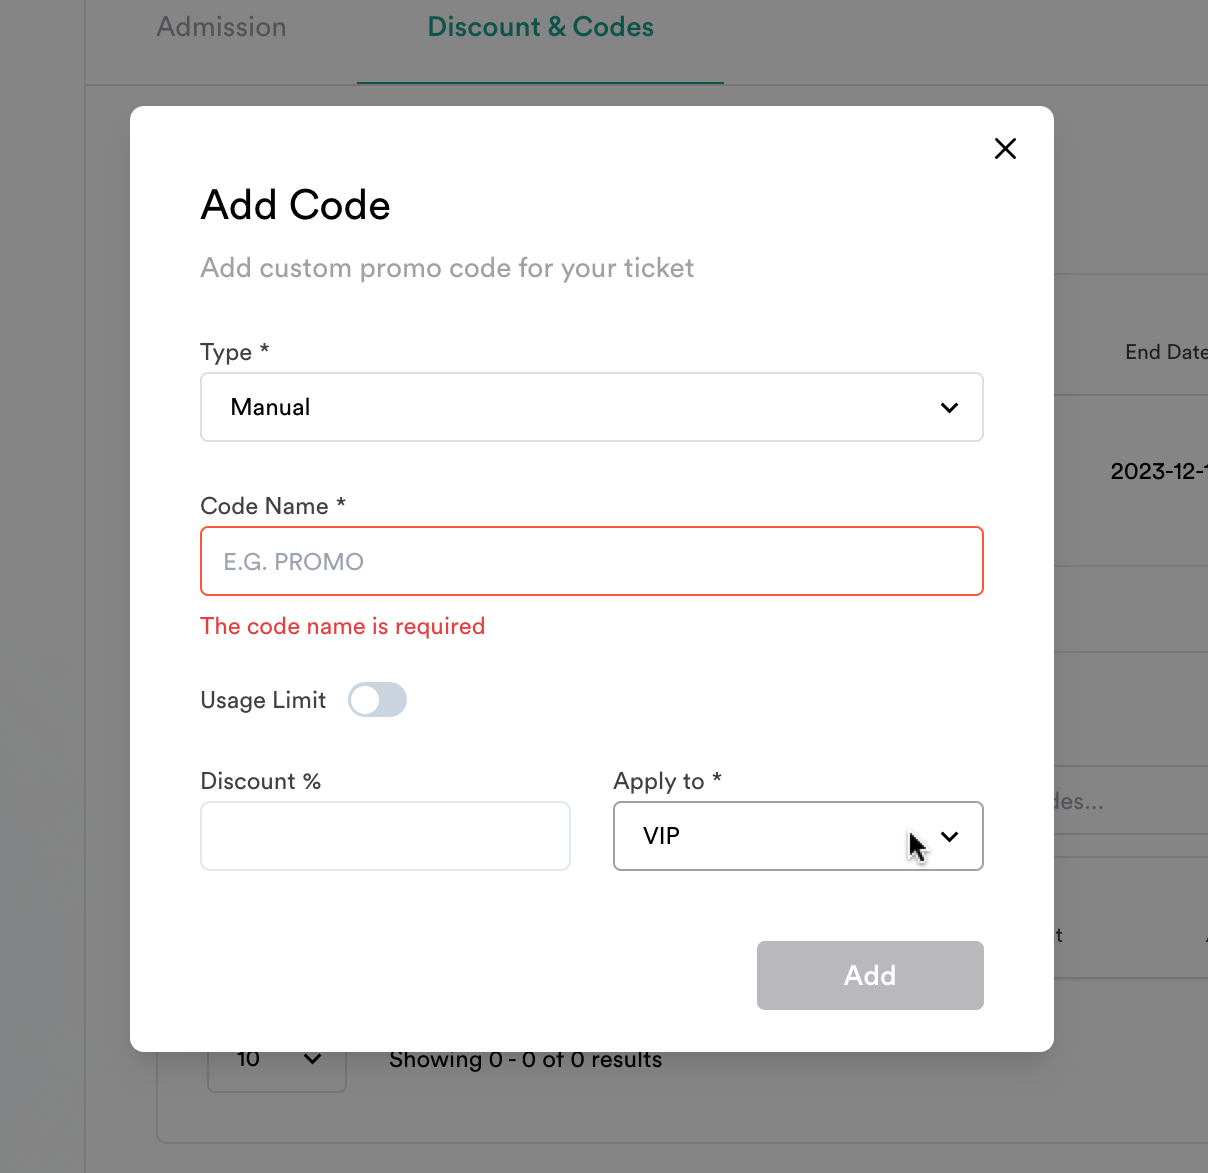
If you are adding a small number of codes or your campaign requires a specific promotional code, select “Manual.” Otherwise, select “Bulk Generate” to automatically generate codes.
* **Manual**
Enter the desired promo code. If applicable, add a maximum number of times that the code can be used by clicking the “Usage Limit” toggle and entering the quantity. Click “Add” when complete. The promo code is now activated.
* **Bulk Generate**
Enter the desired quantity of promo codes to be randomly generated. If applicable, add a maximum number of times that each code can be used by clicking the "Usage Limit" toggle and entering the quantity. Click "Add" when complete. The promo code is now activated.
**Step 5: Delete promo codes**
From the Discount & Codes Tab, click the action button for the target discount code, “Delete,” and then “Confirm” on the following window.
**Step 6: Create a direct discount code link (optional)**
Customers can be sent directly to the checkout page with a discount code already applied to their cart. To do so, simply append `/checkout?code=(your-discount-code)` to the back of your event’s URL, where `(your-discount-code)` is a valid and currently active discount code.